Jasbir Harnal Portfolio
A collection of my work on a webpage made from scratch.
Uses w3.css and photo grid & textover tutorial from css-tricks.com
Visit my profiles:

Uses w3.css and photo grid & textover tutorial from css-tricks.com
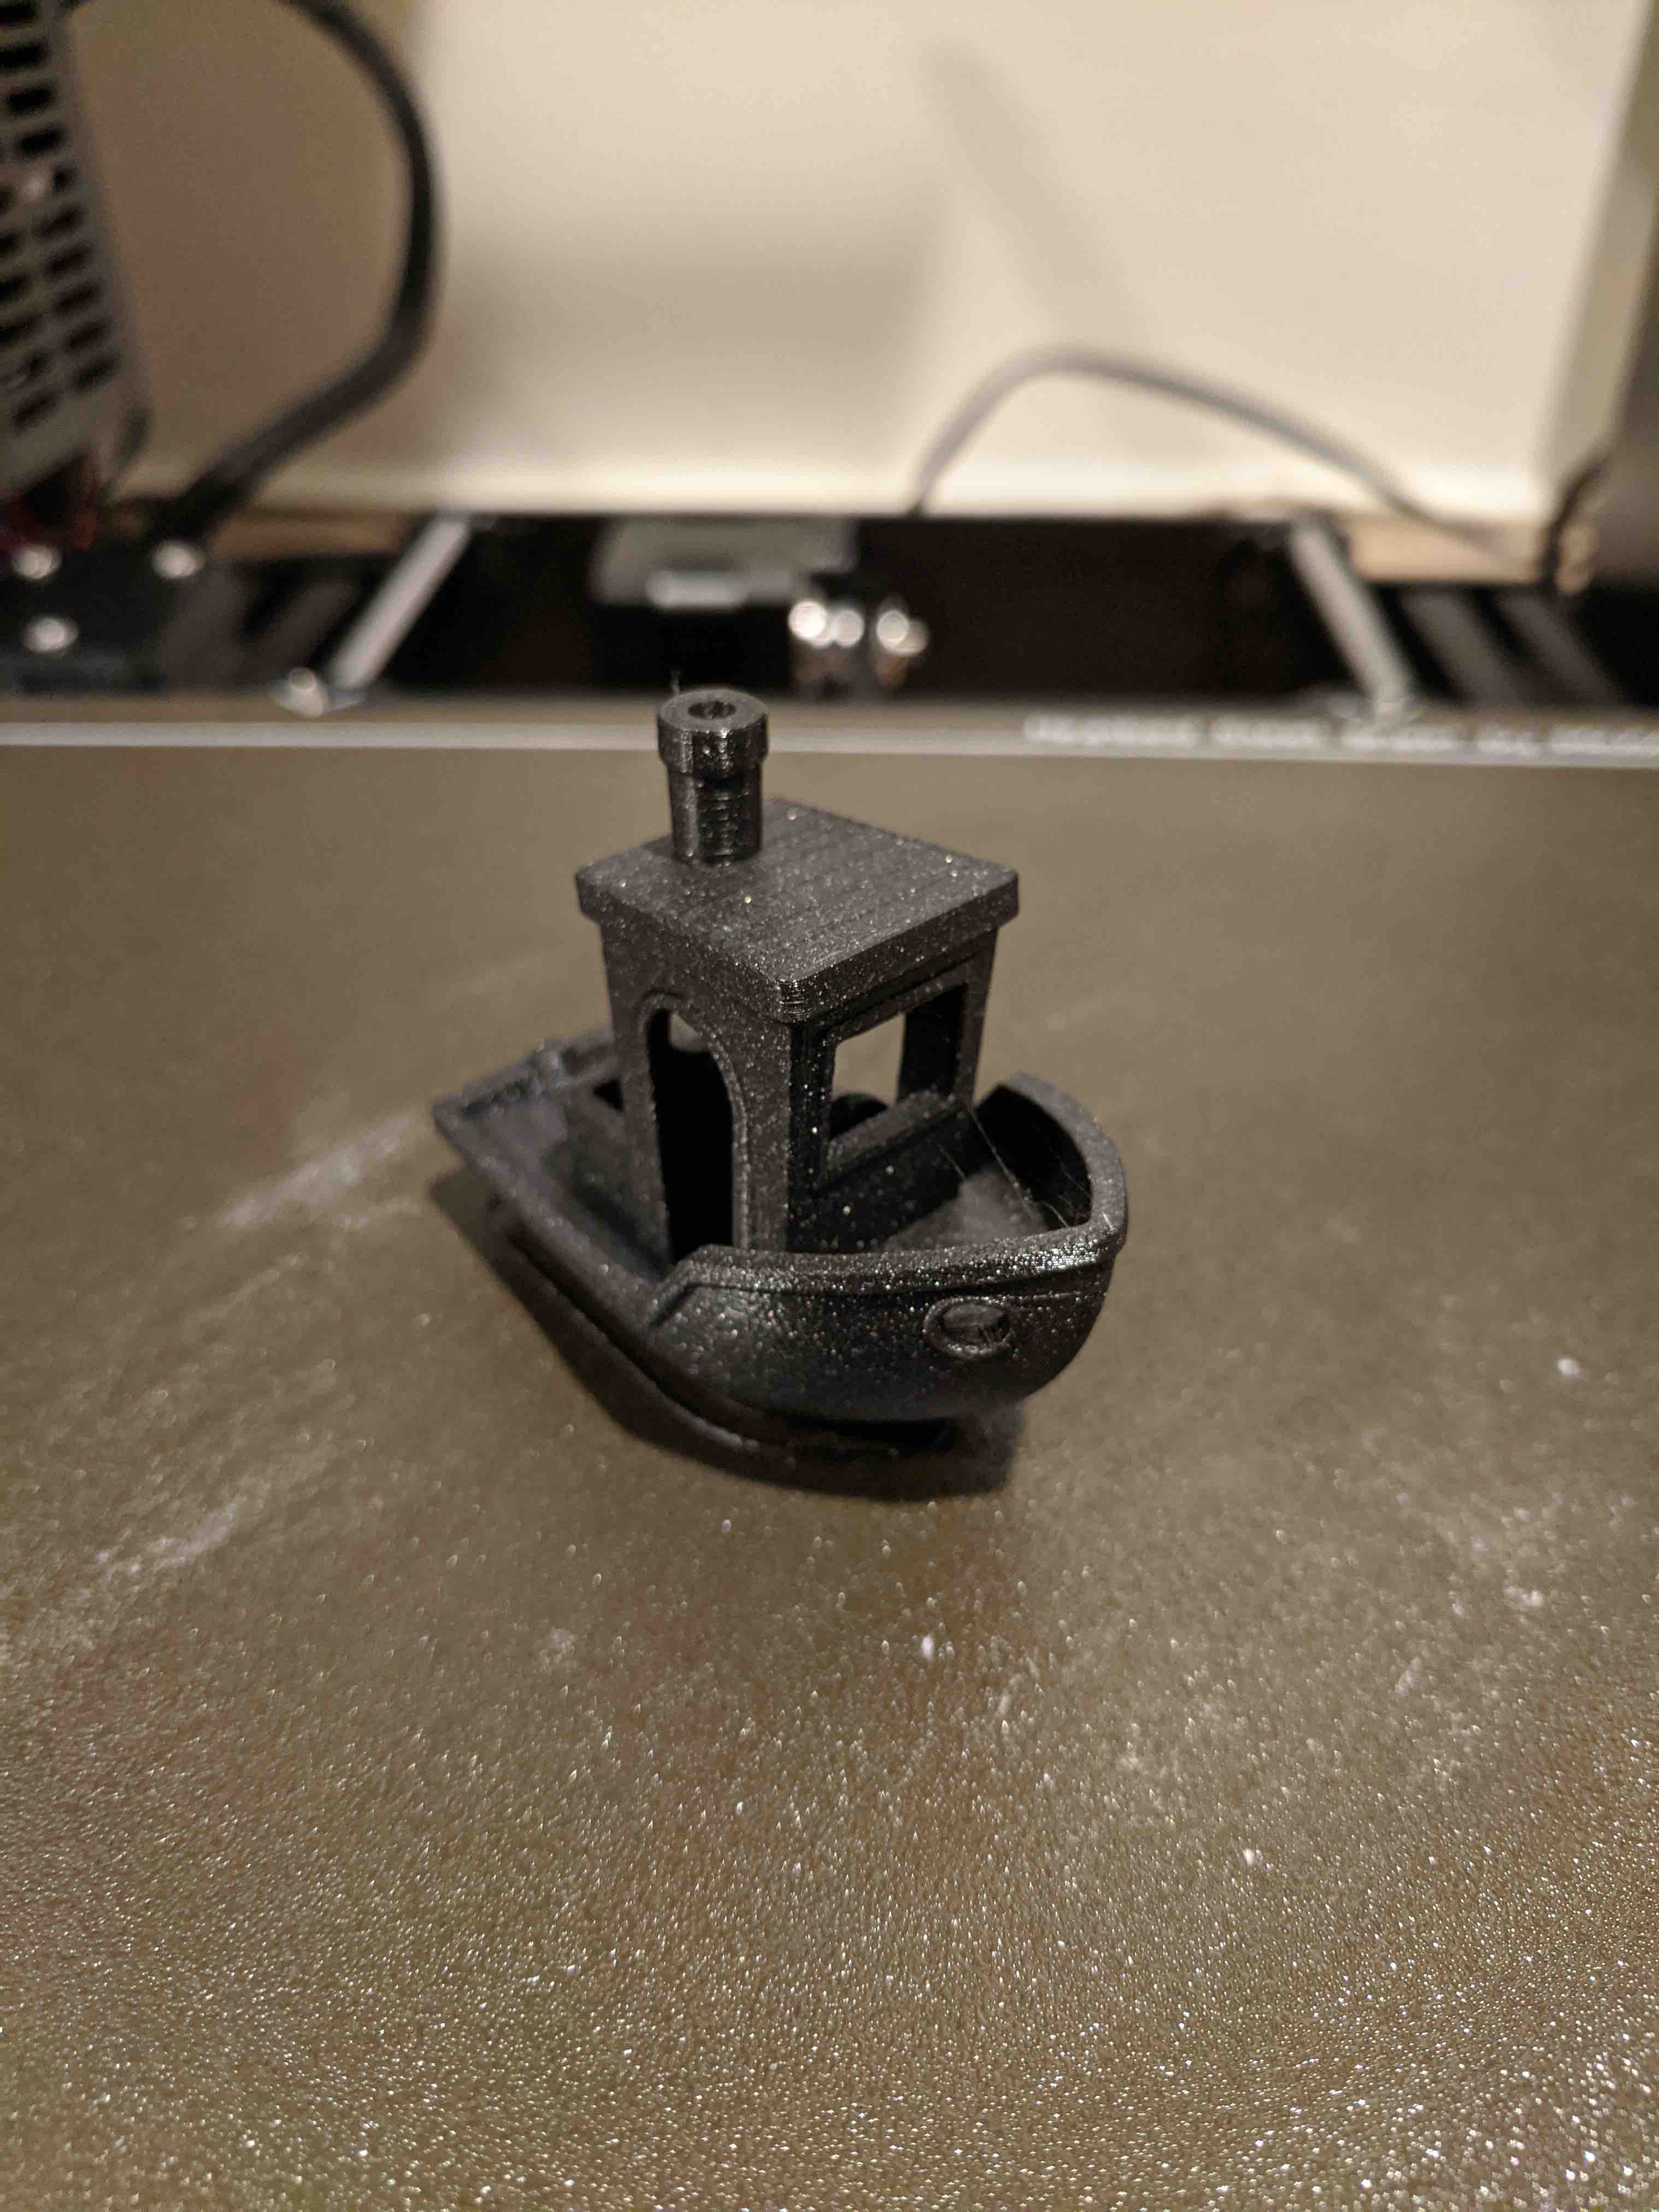
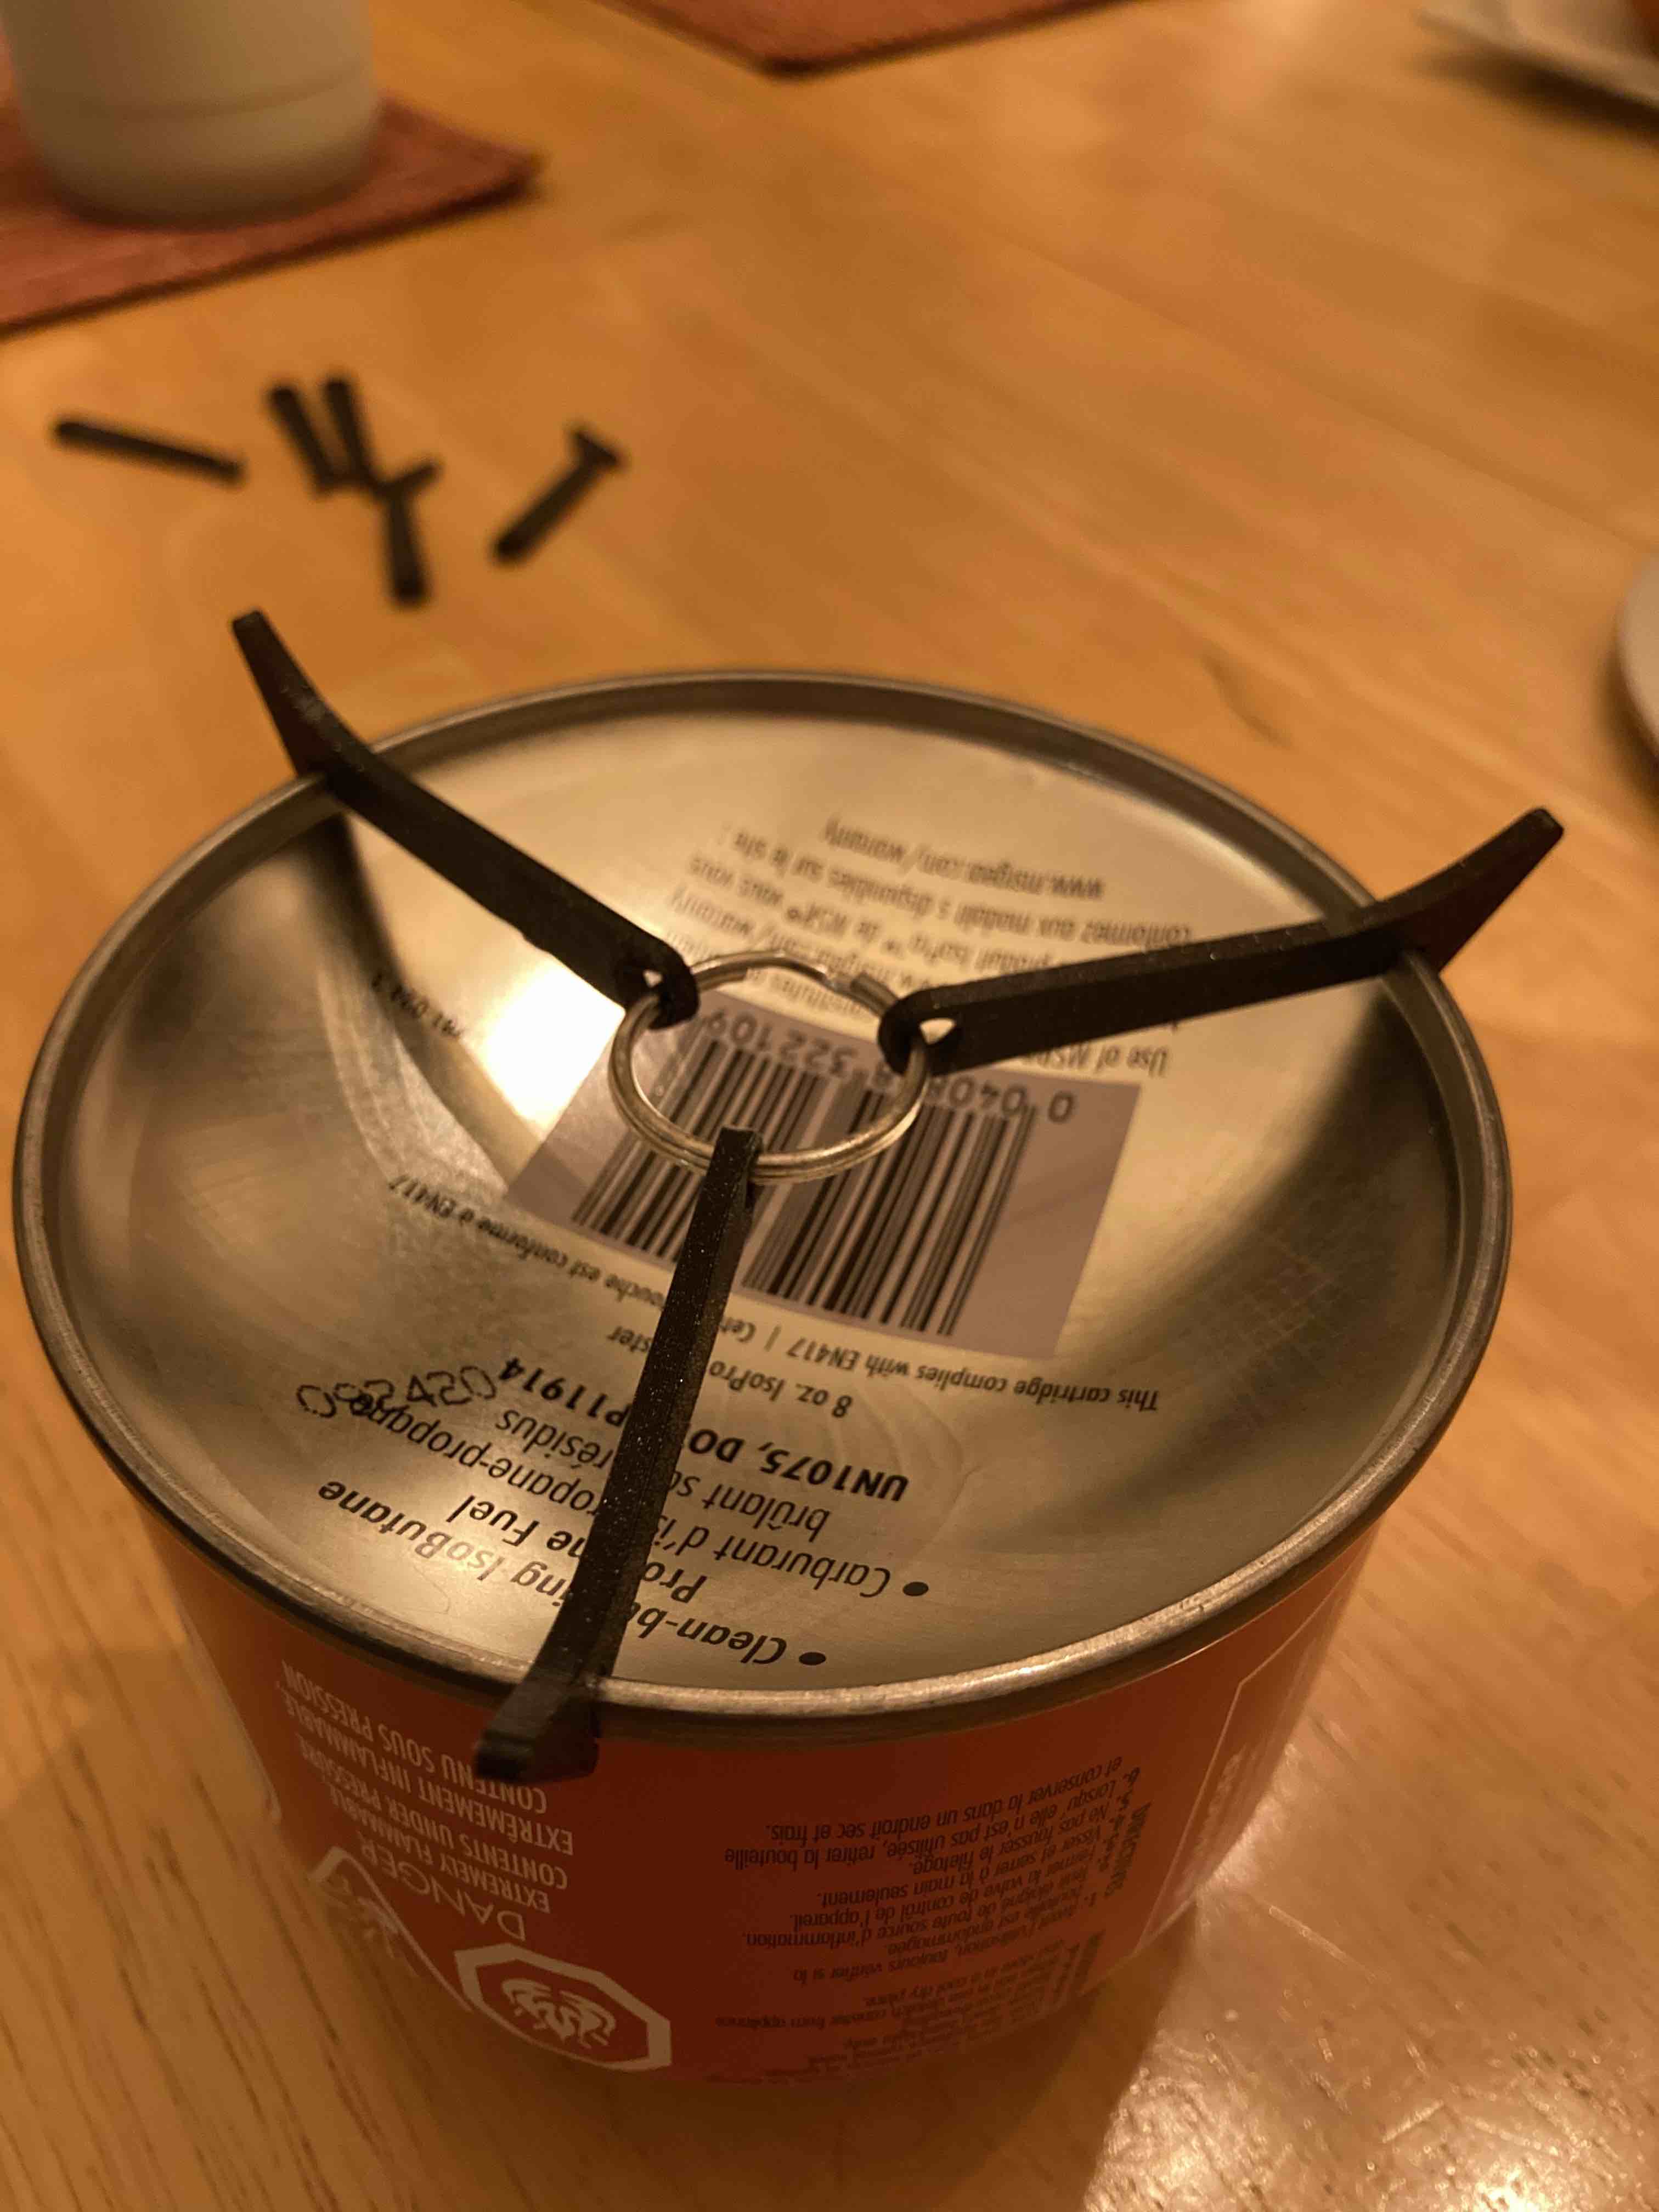
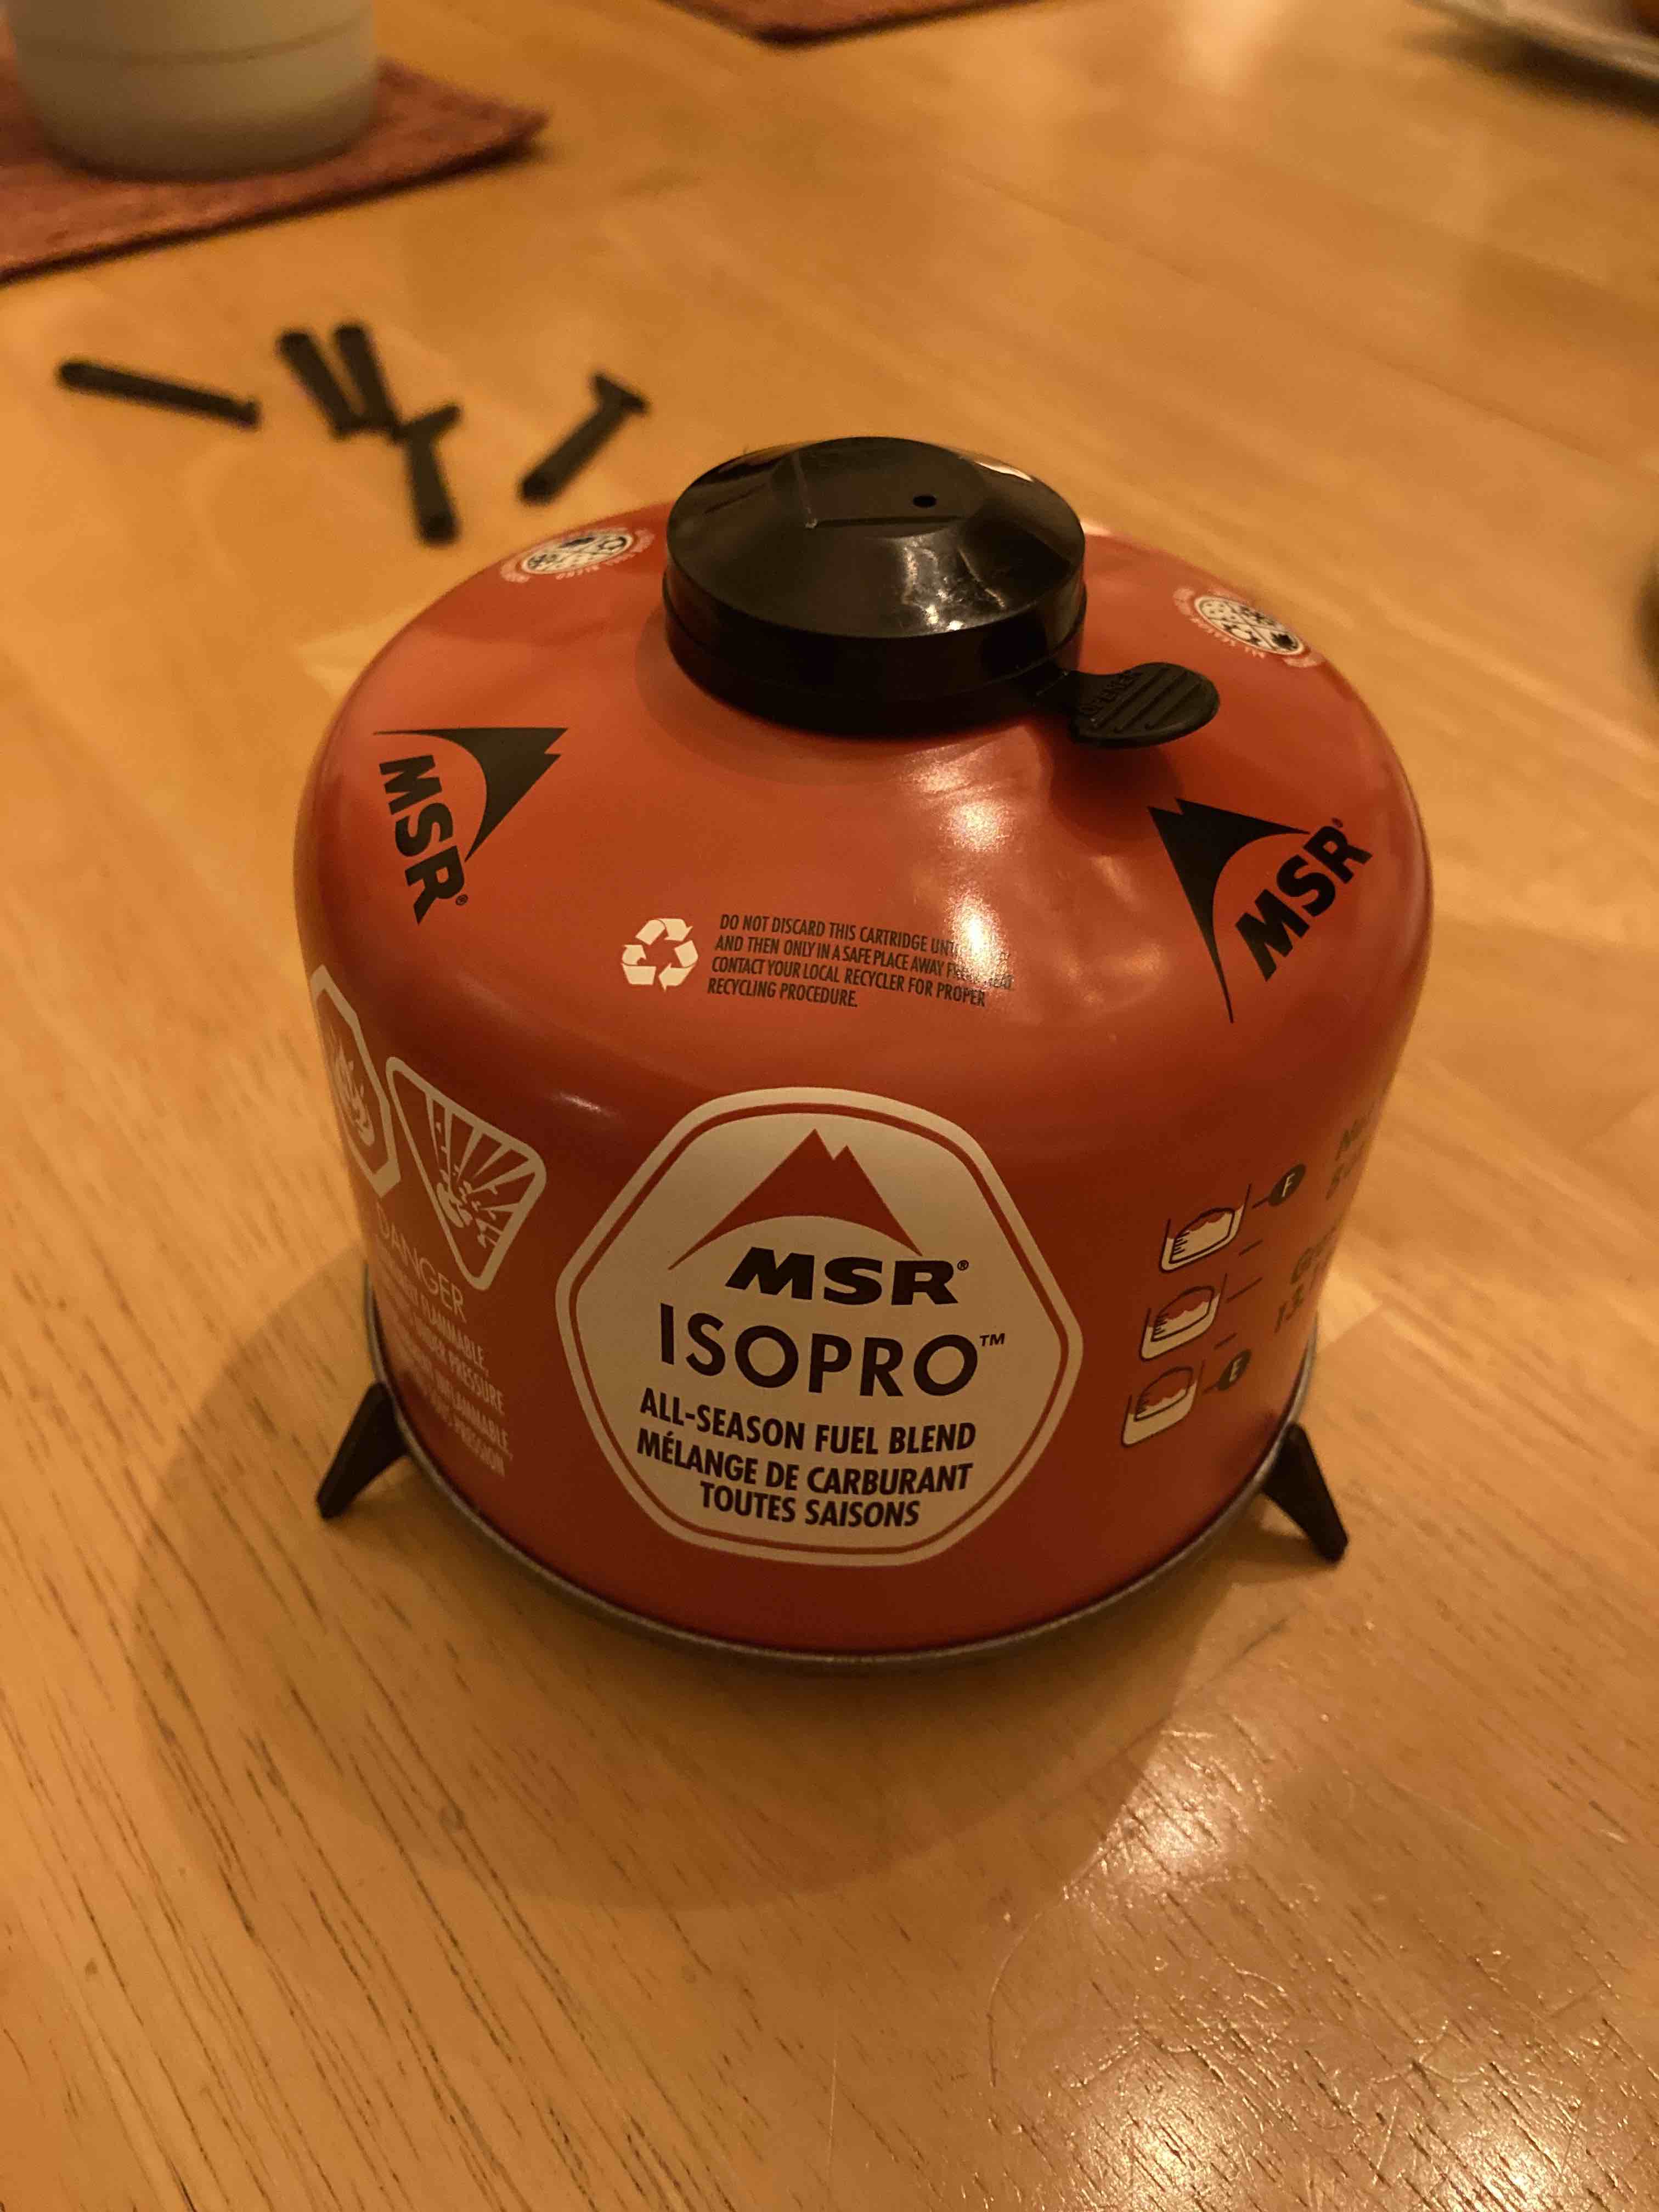
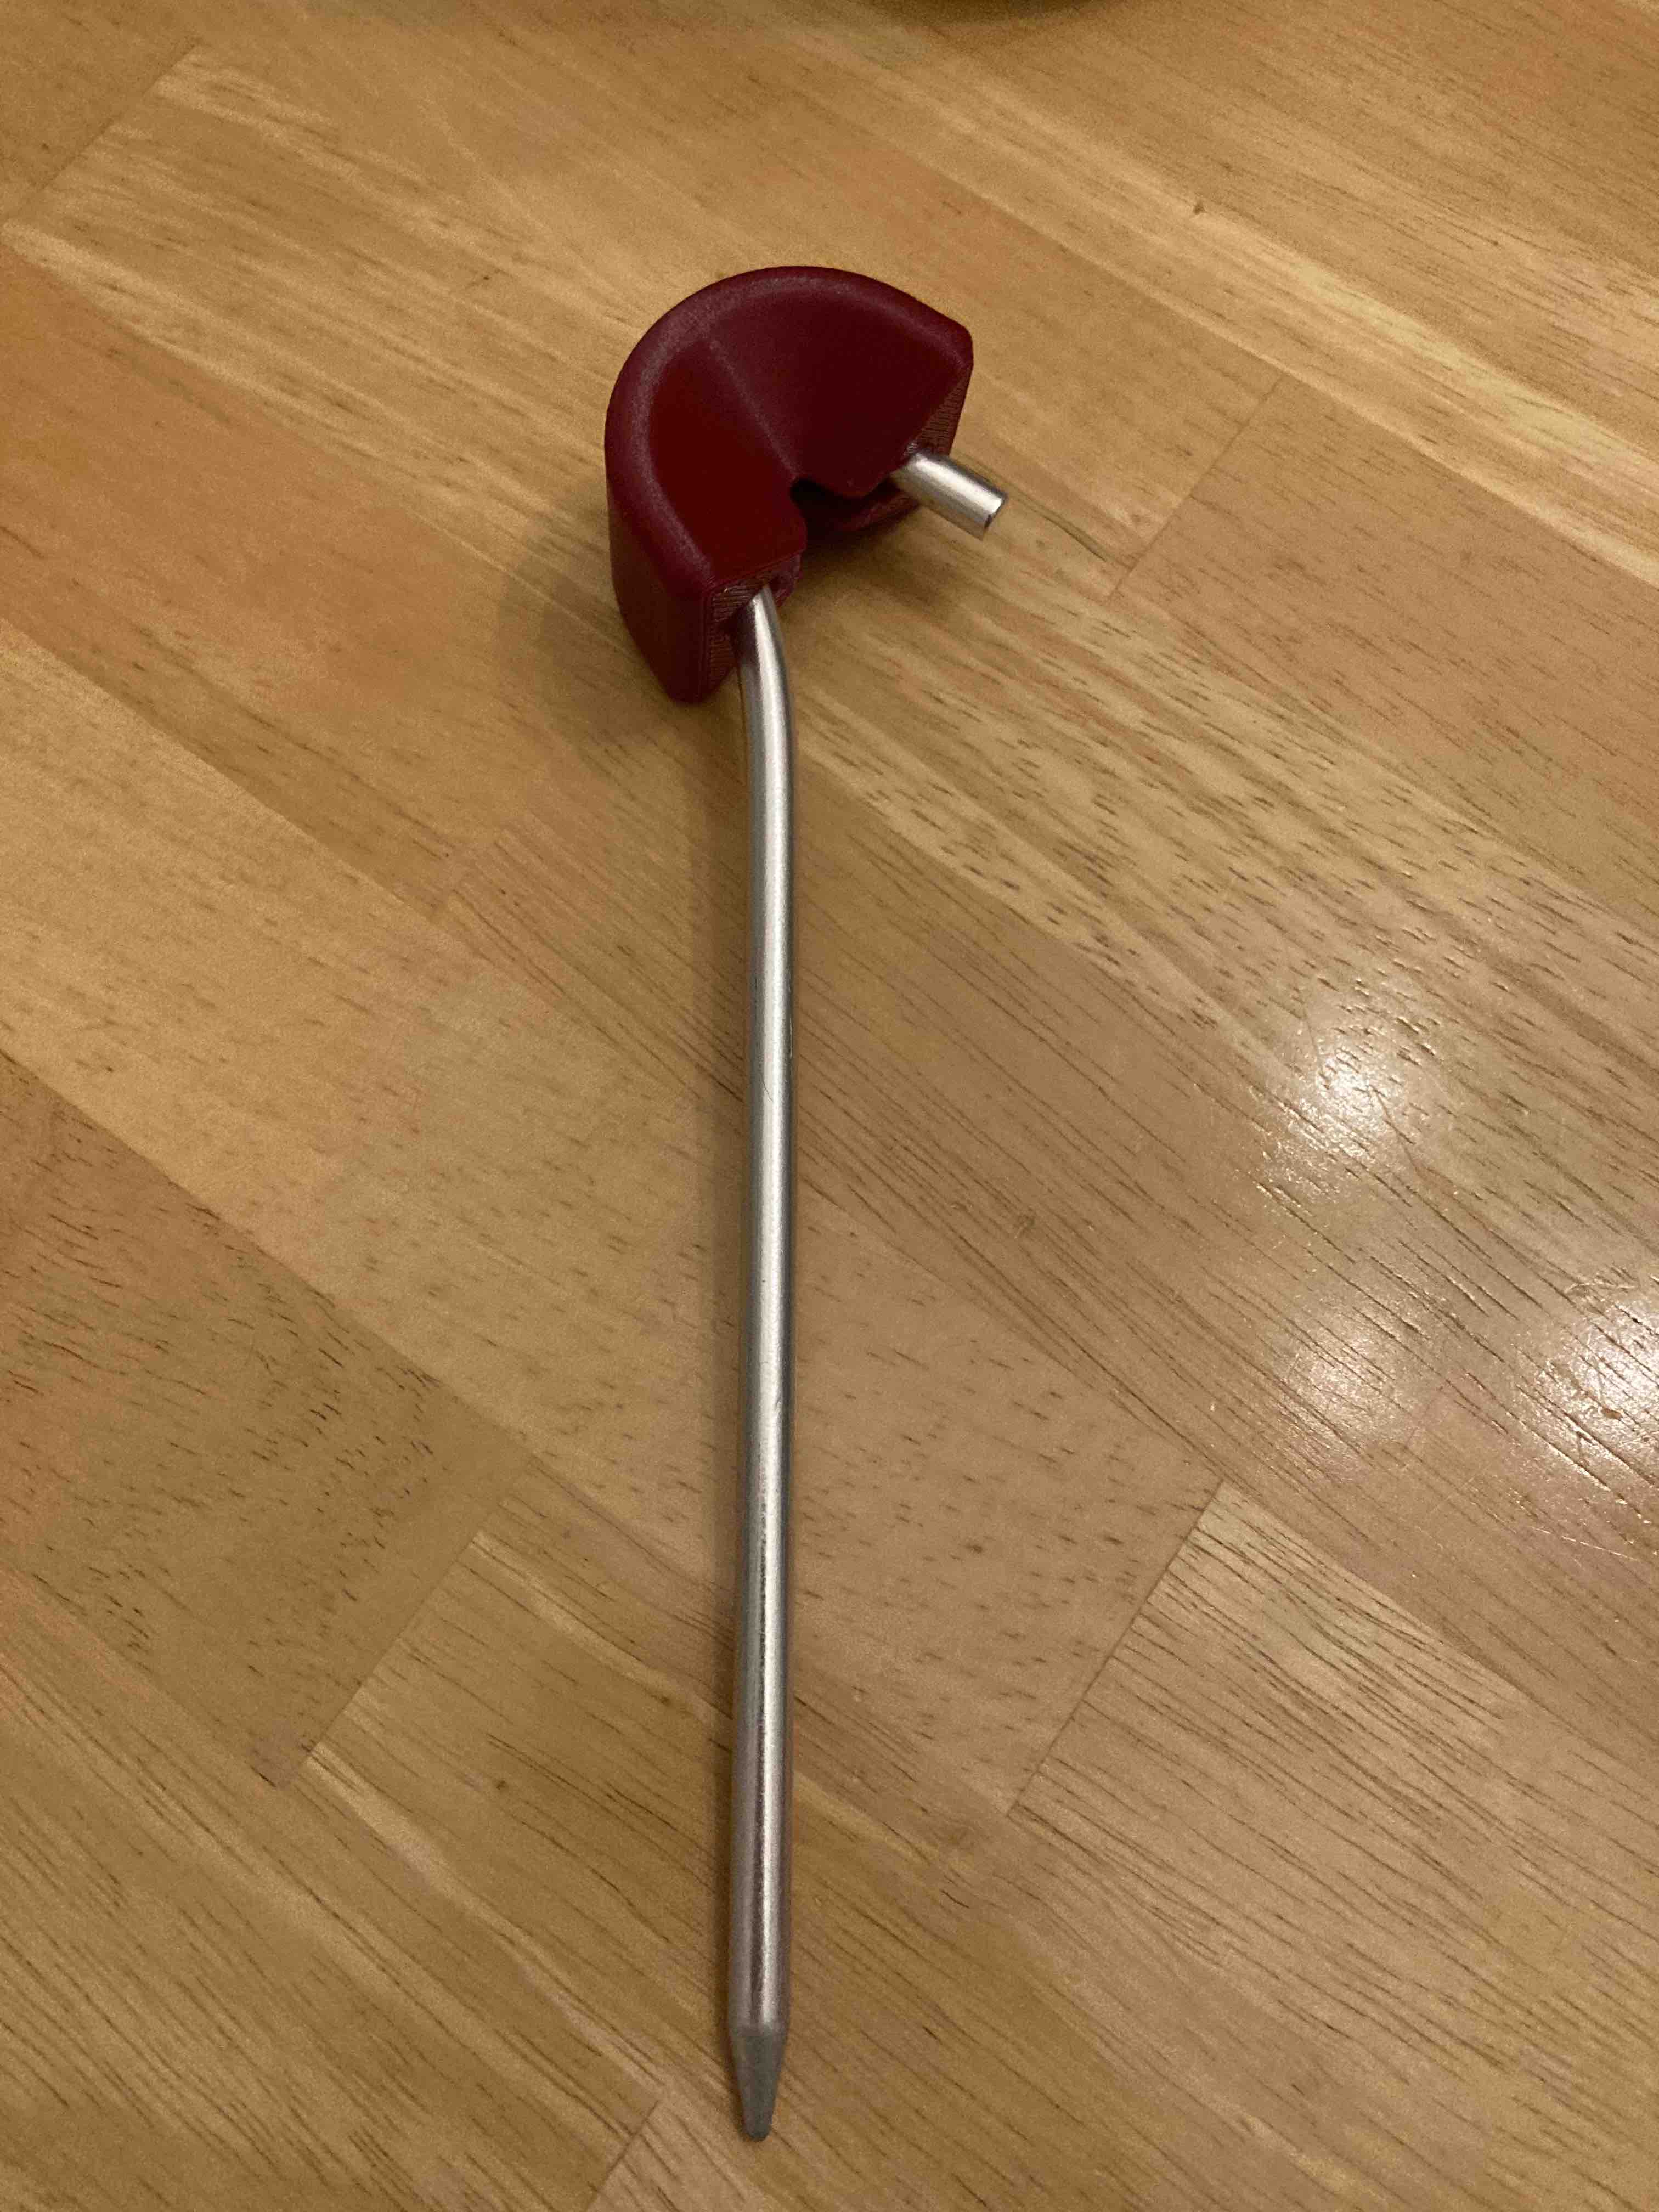
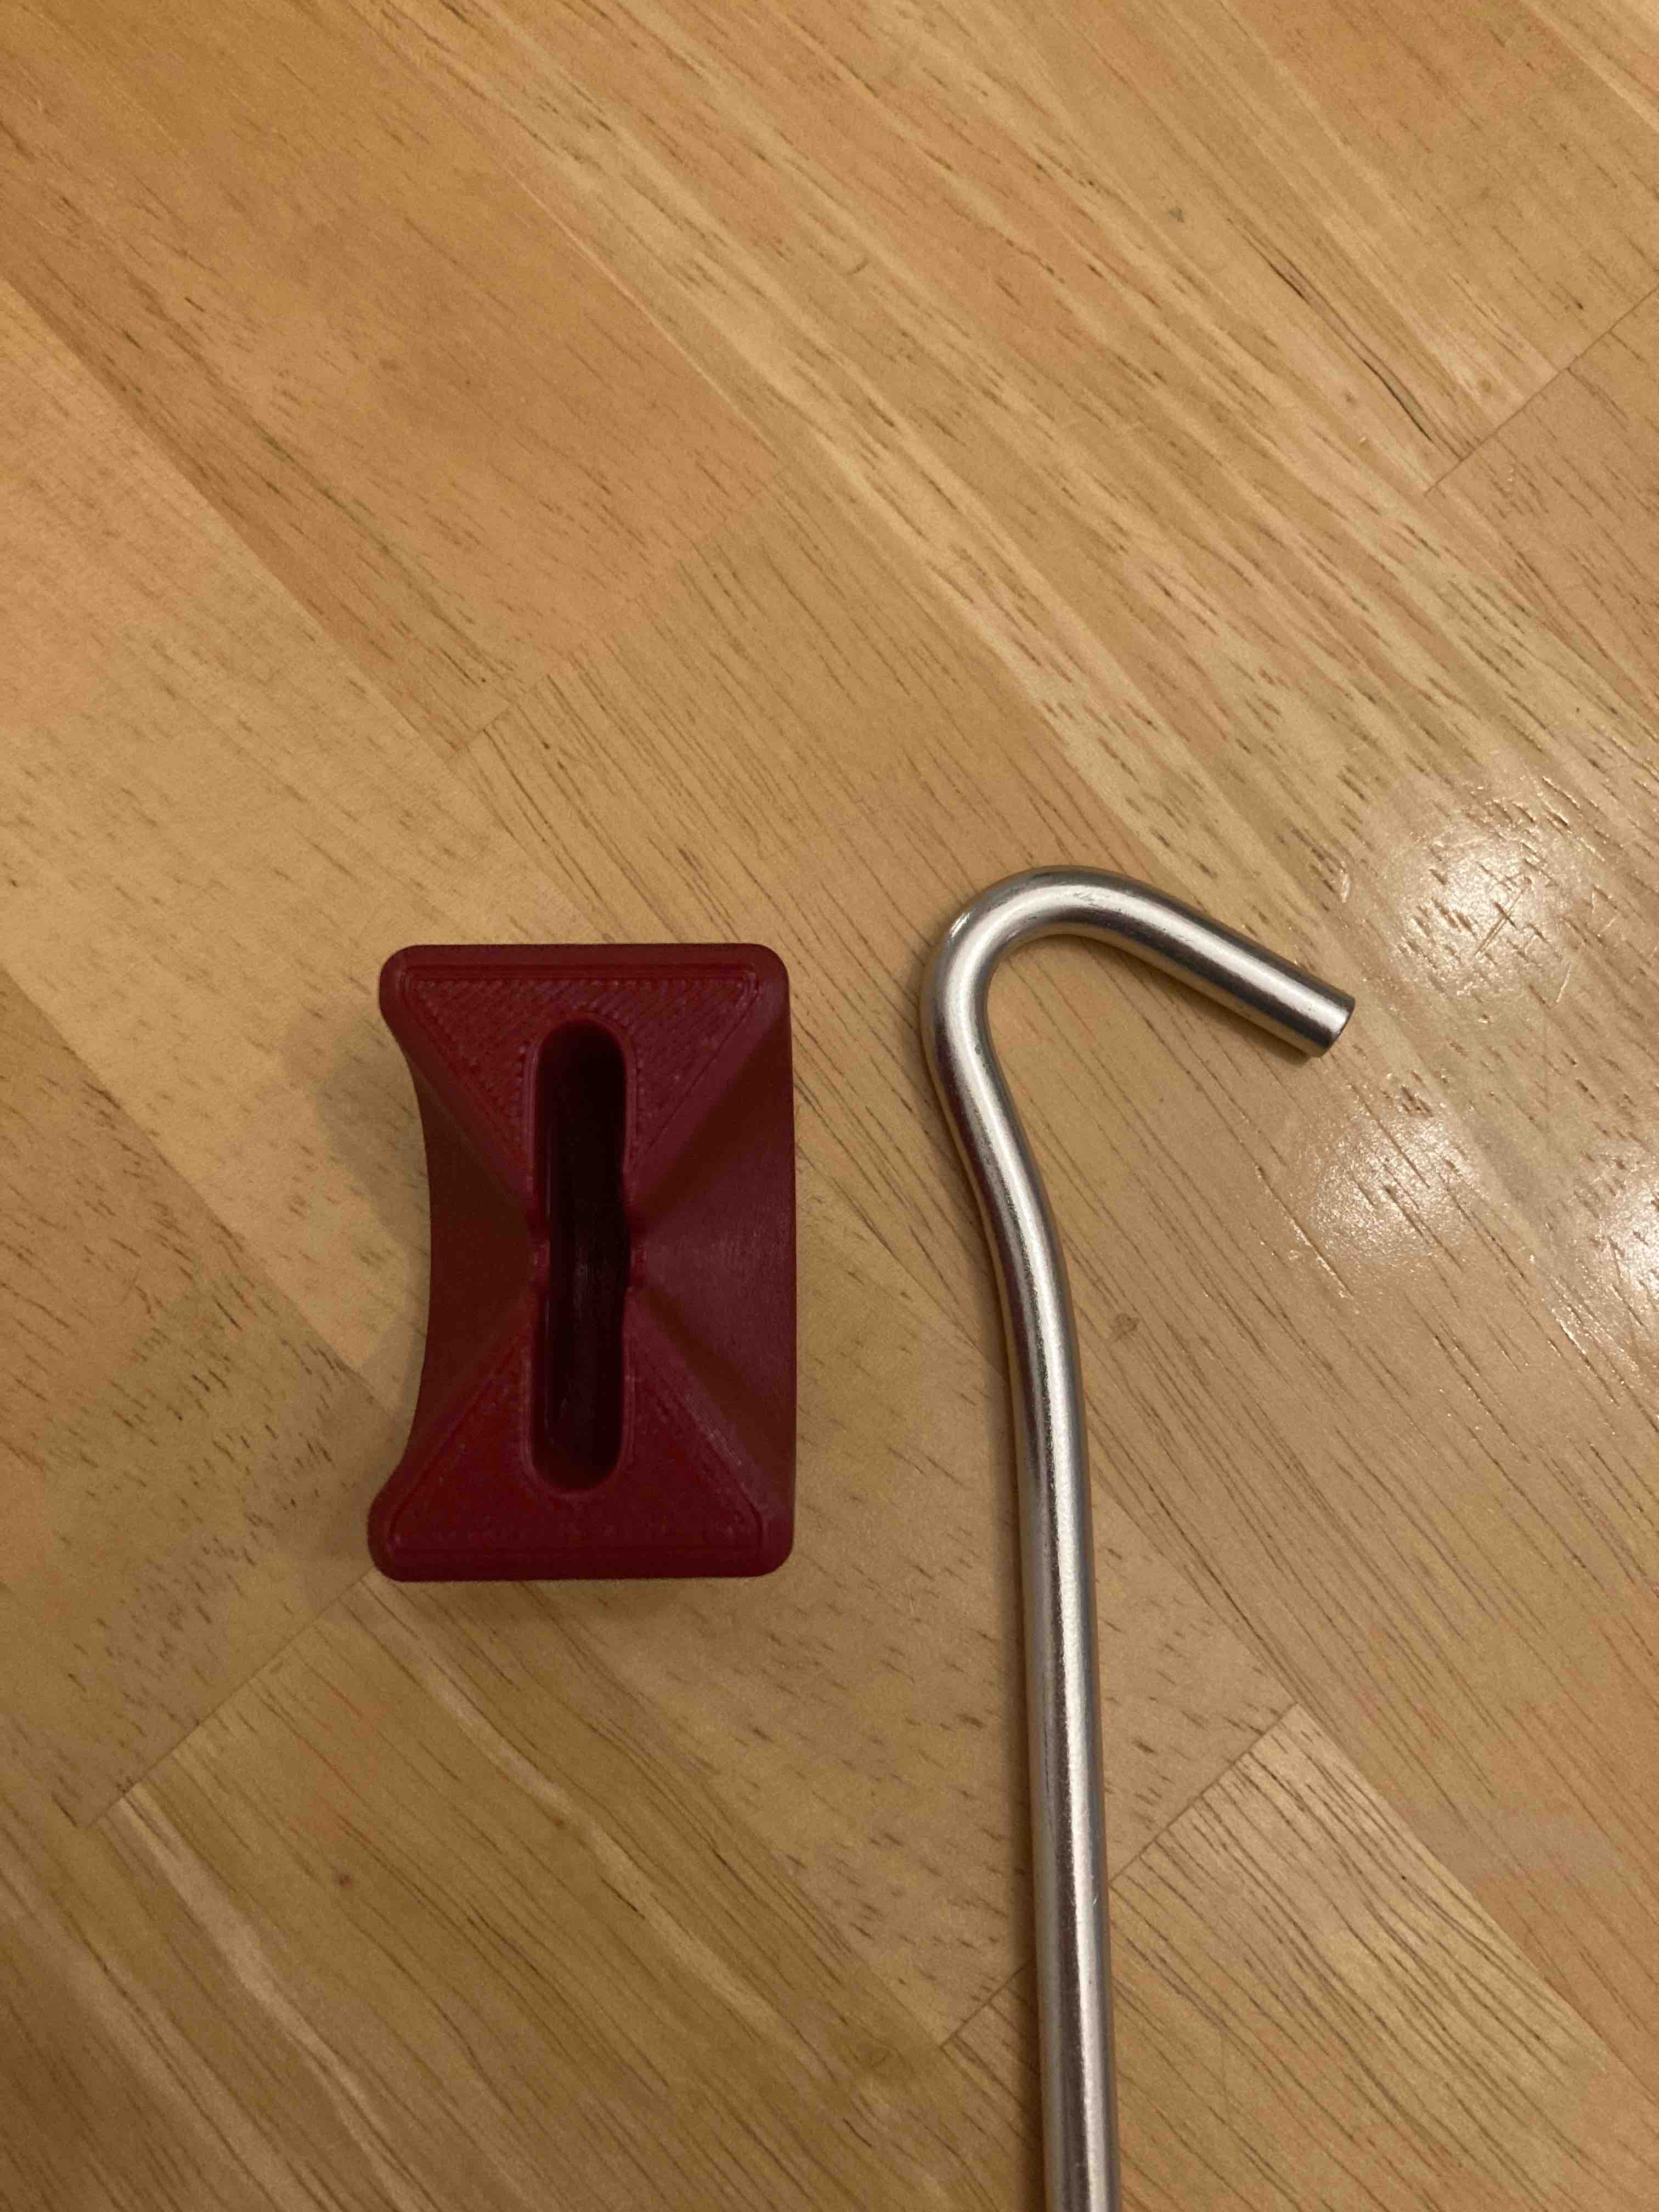
Various hobby projects involving 3D printing
Highlights:
Since 2019, I've been actively 3D printing various components. My proudest achievements are the tools I've created for camping, including a collapsible stove stand and a lightweight pusher for camping stakes. Additionally, I've crafted 3D printed household items, such as a holder for microwave covers and containers to organize mason jar lids.
Hobby project with friends
Highlights:
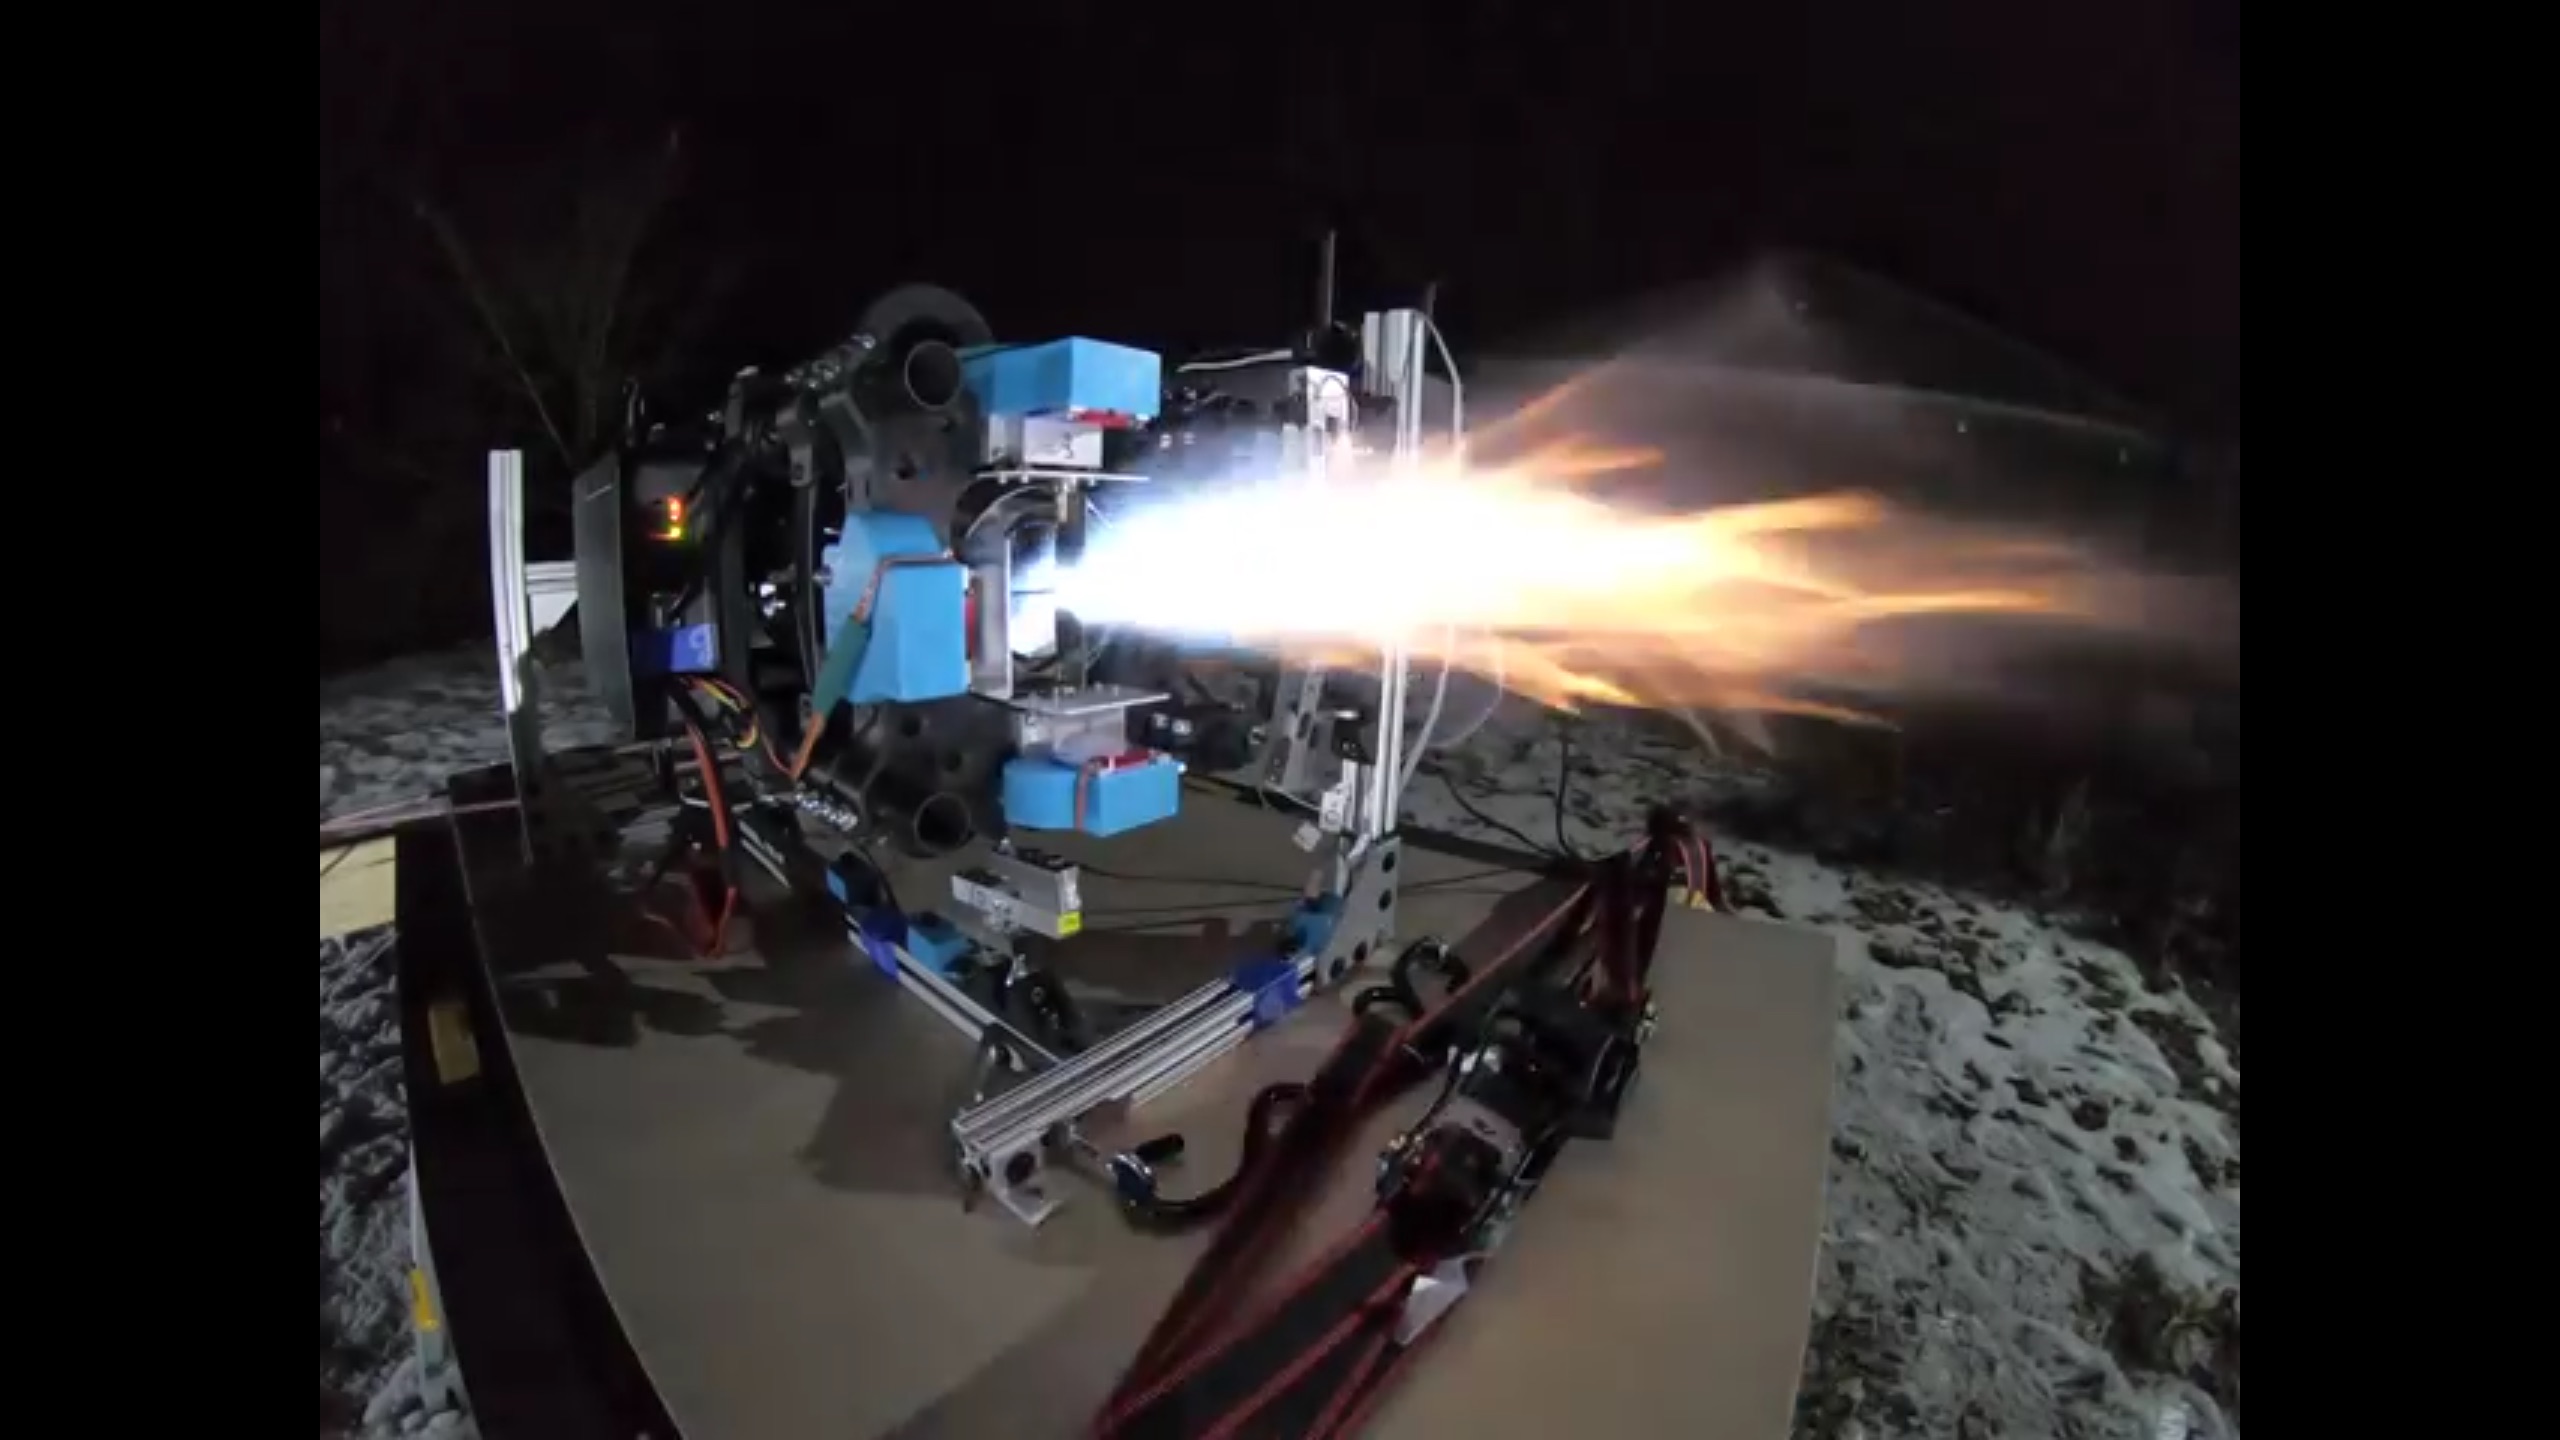
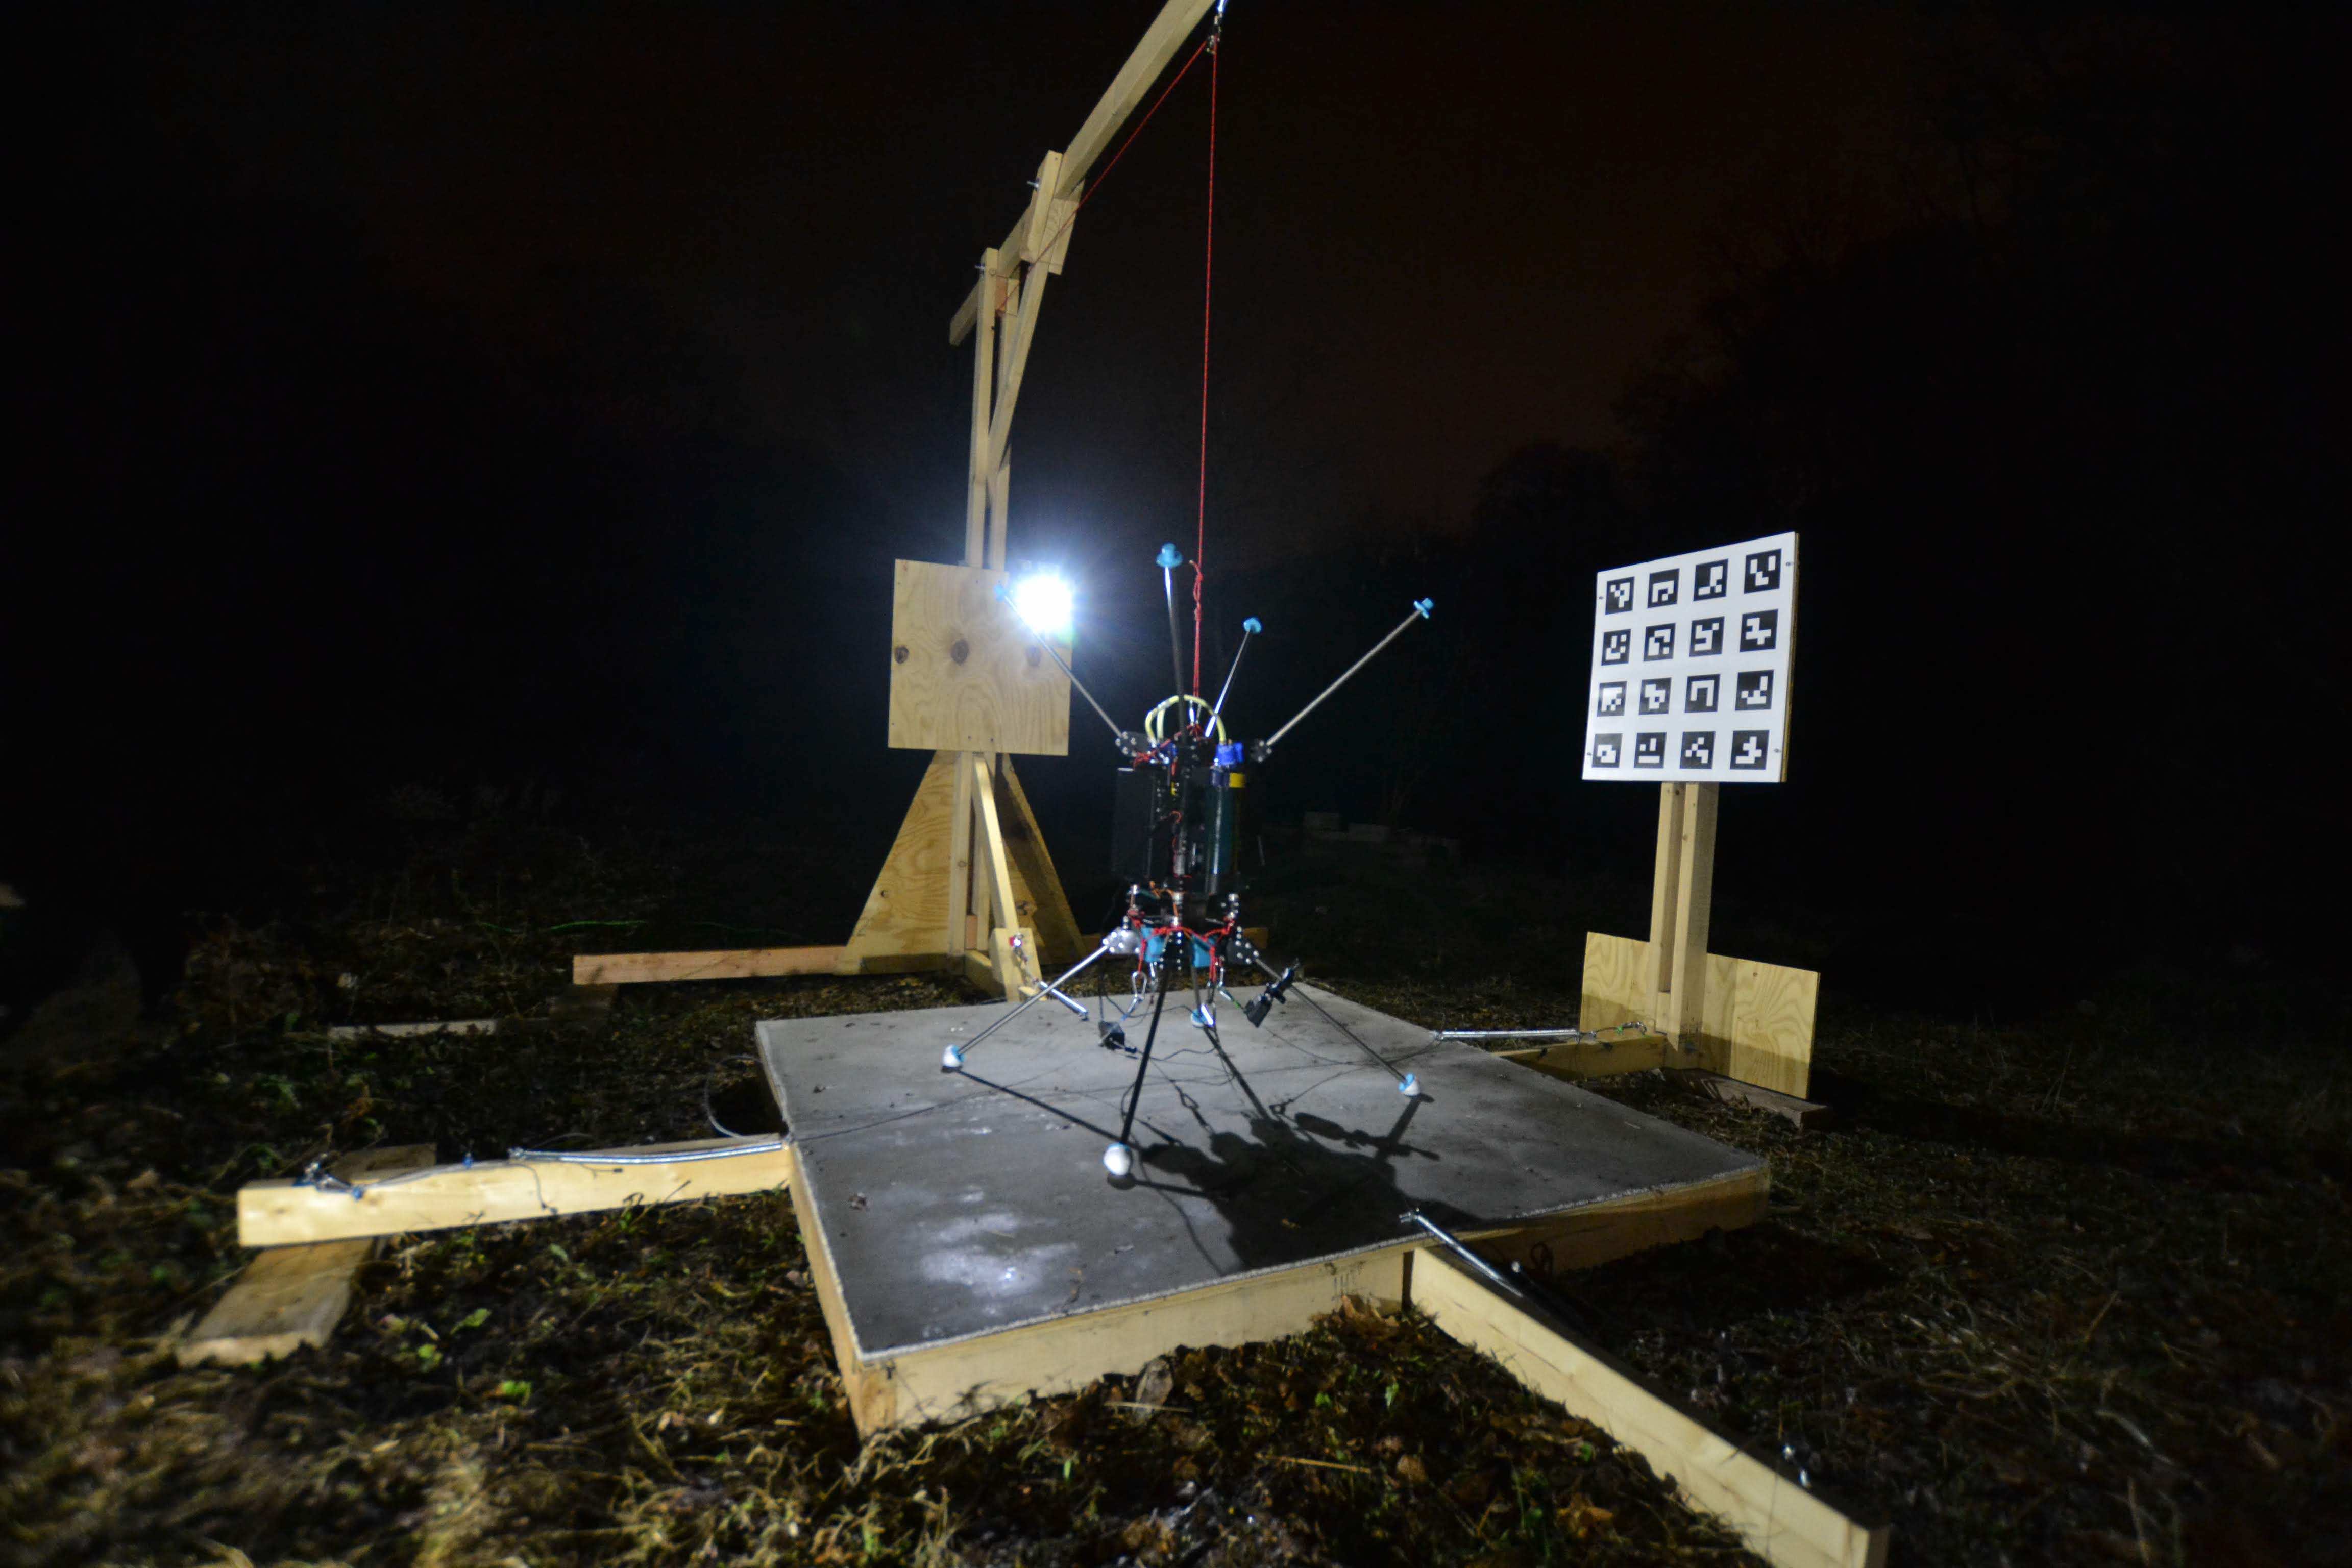
VTOL drone built from scratch powered by a jet engine - I contributed to embedded drivers, vehicle assembly, software infrastructure. Collaborated with MIT/CMU students and other robotics engineers.
We worked on this project during winter 2018-2019.
Check out the Github Page for this project.
Group Project with Mechatronics Club
Highlights:
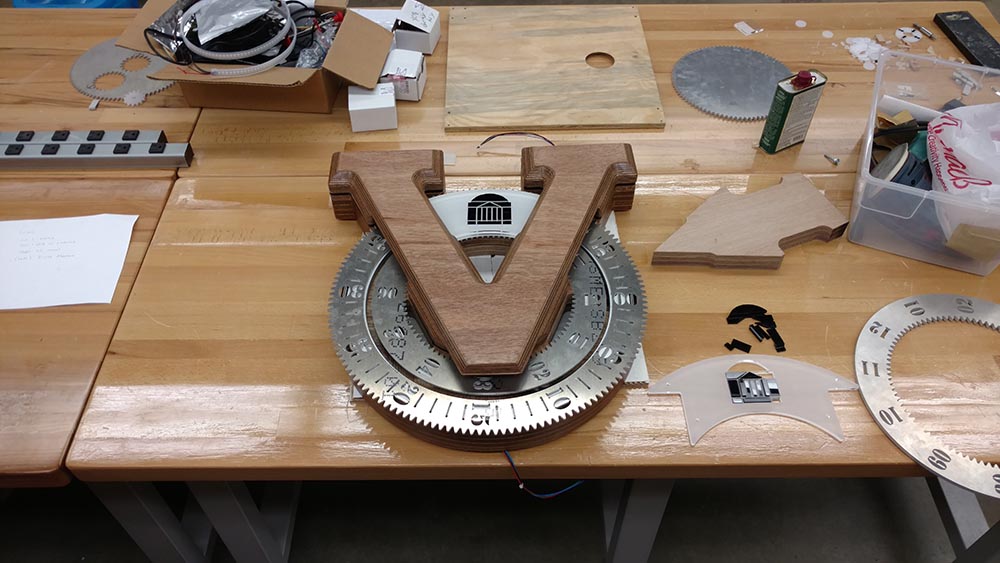
During my 3rd year at UVA, I started this project along with 5 other MechE majors interested in mechatronics. During the course of this project, we started The Gizmologists mechatronics club.
Motivation for this project came from the lack of a good clock in a large MechE classroom. We took this opportunity to build a clock from scratch and improve our mechatronics skills along the way.
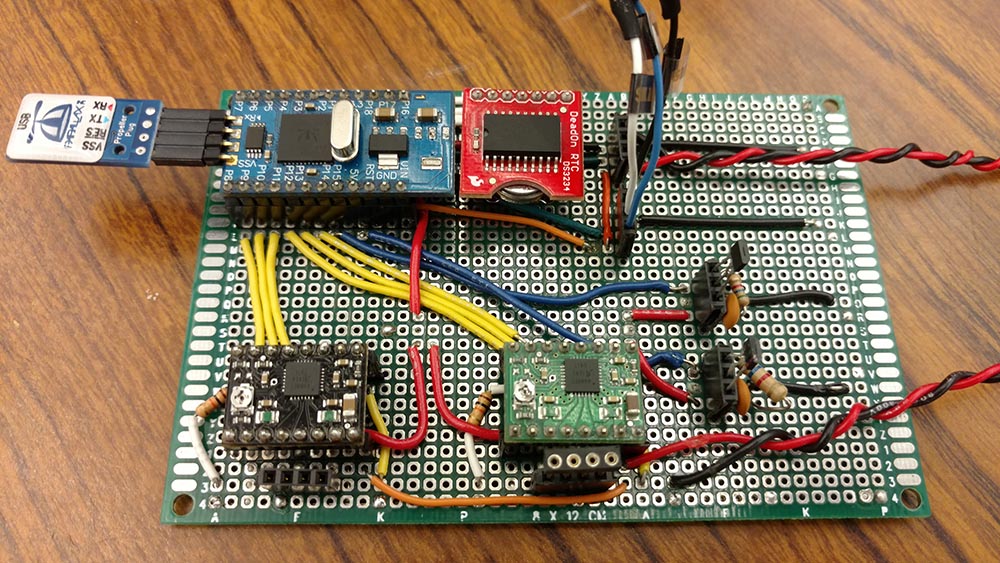
Major electronic components
Our iterative breadboard testing taught us a great deal about debugging. The final version of the electrical system was a single soldered protoboard with pins to allow swapping of Integrated Circuits (ICs). We included Hall Effect sensors on the rotating gears for error correction. They behave like encoders, ensuring the clock displays the correct time.
The software is written in Propeller Spin for the Propeller microcontroller. The control code is relatively simple, but accounting for backlash in the gears was a challenge. Every 24 hours, the clock automatically re-calibrates itself using the Hall Effect sensors. This was a valuable lesson in compensating for mechanical inconsistencies with software.
Check out the Github Page for this project.
MechE Group Project for Advanced Mechatronics course
Highlights:
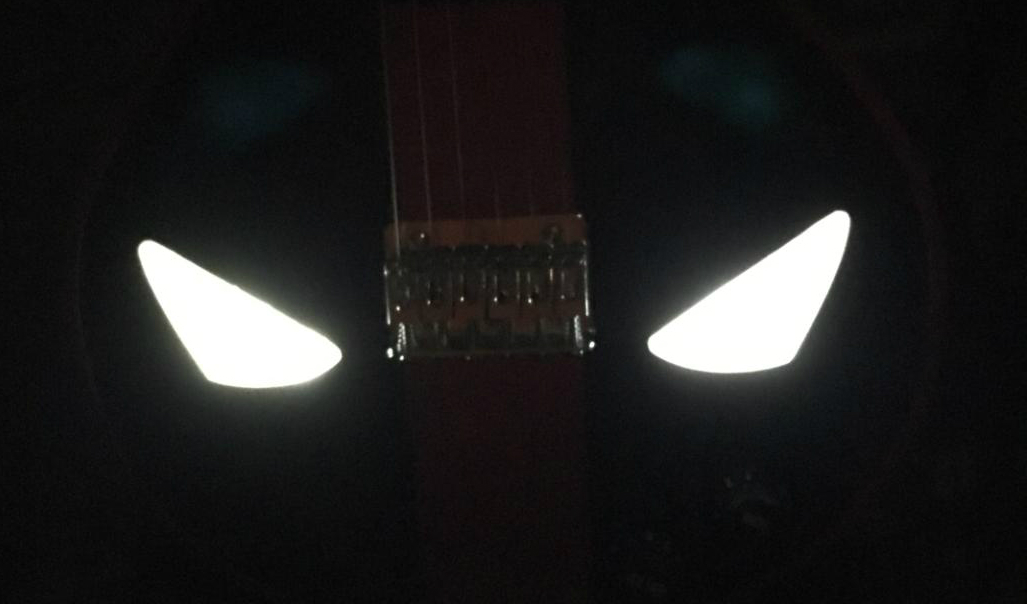
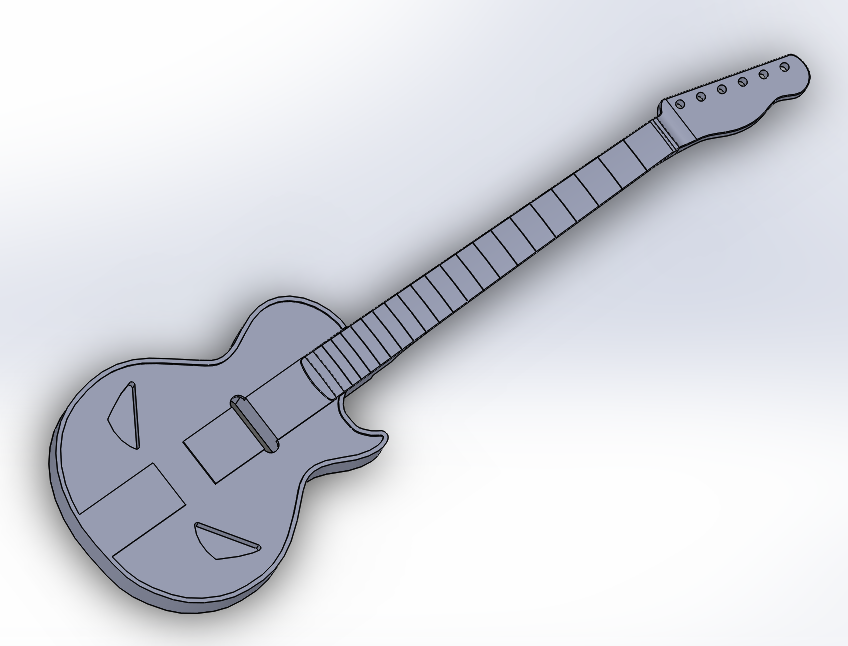
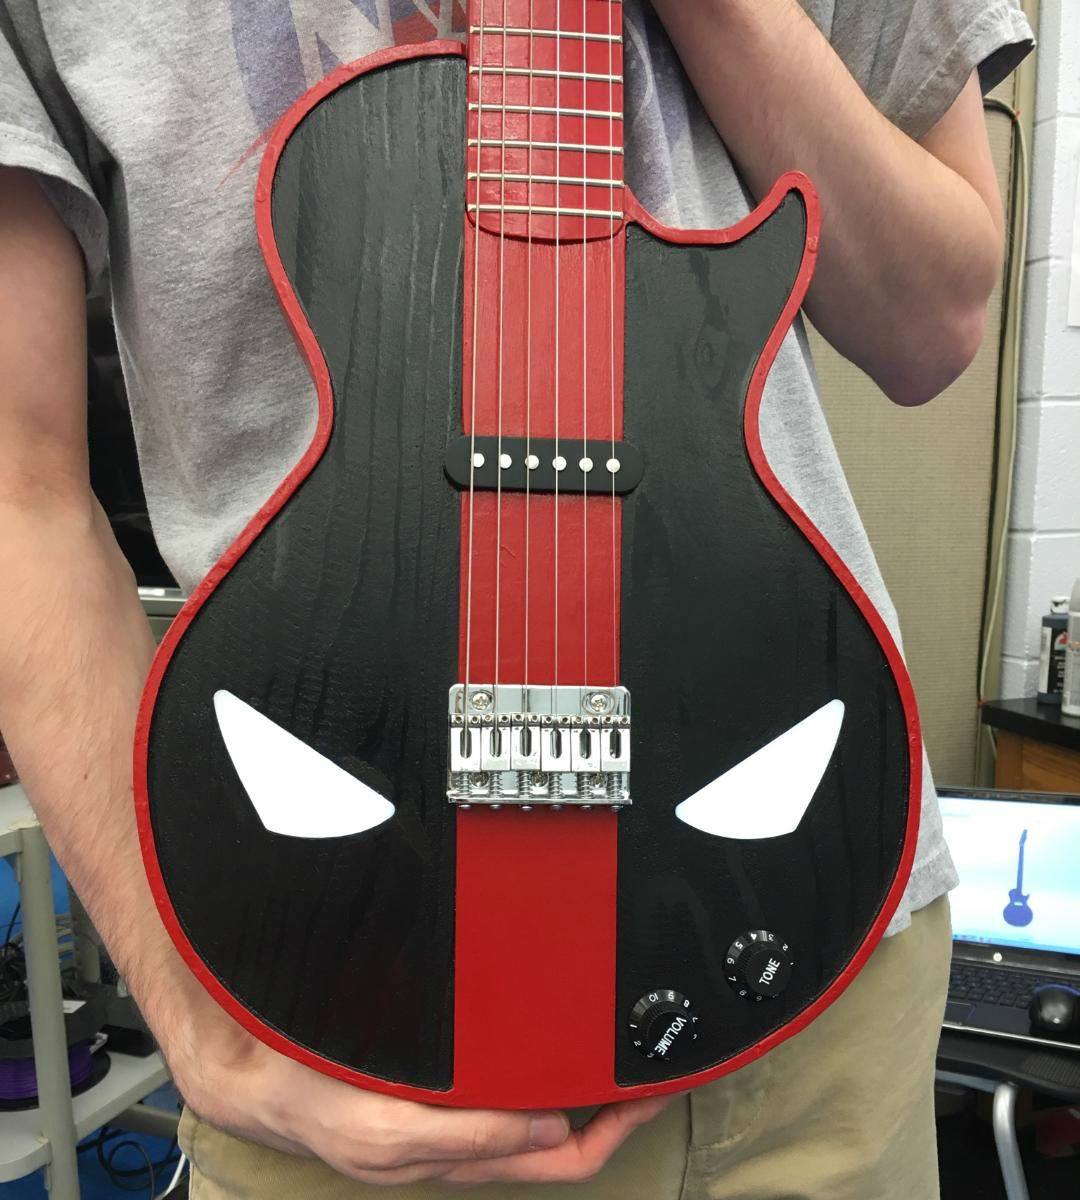
I completed this project with 2 other MechEs during my 4th year at UVA. We chose Deadpool as the theme for our guitar, and styled the body after the Gibson Les Paul. We designed the body in Solidworks and used HSMWorks to create the CNC toolpaths. We used a ShopBot CNC router to cut the body out of wood. Designing the guitar required us to balance manufacturability, aesthetics, acoustics, and structural integrity.
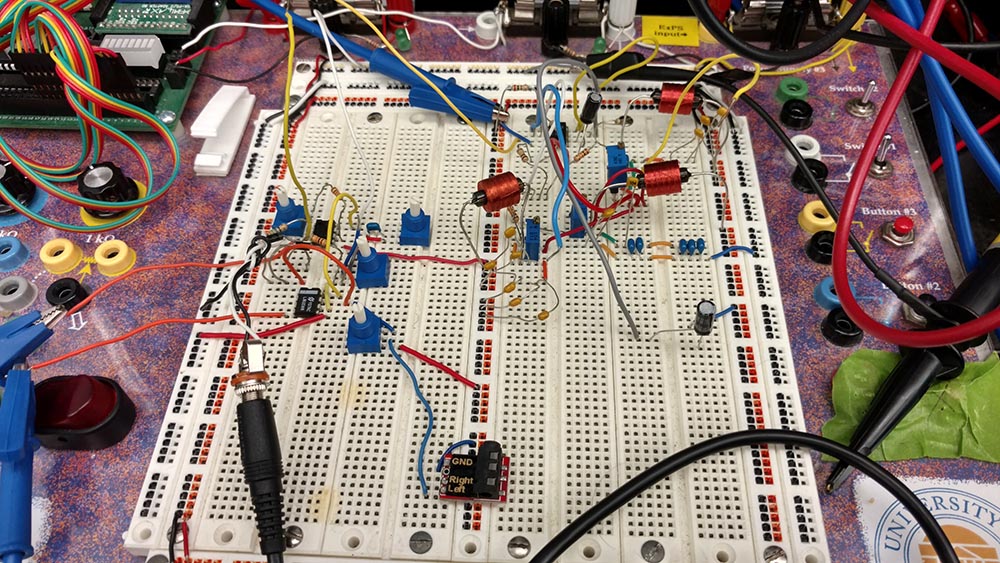
Additionally, we designed and built two analog effect circuits to accompany the guitar. This involved creating circuits in NI’s Multisim, simulating and testing them, and constructing them on a breadboard. One circuit comprised three bandpass filters, while the other included an integrator and an active half-wave rectifier.
Interdisciplinary Capstone Project
Highlights:
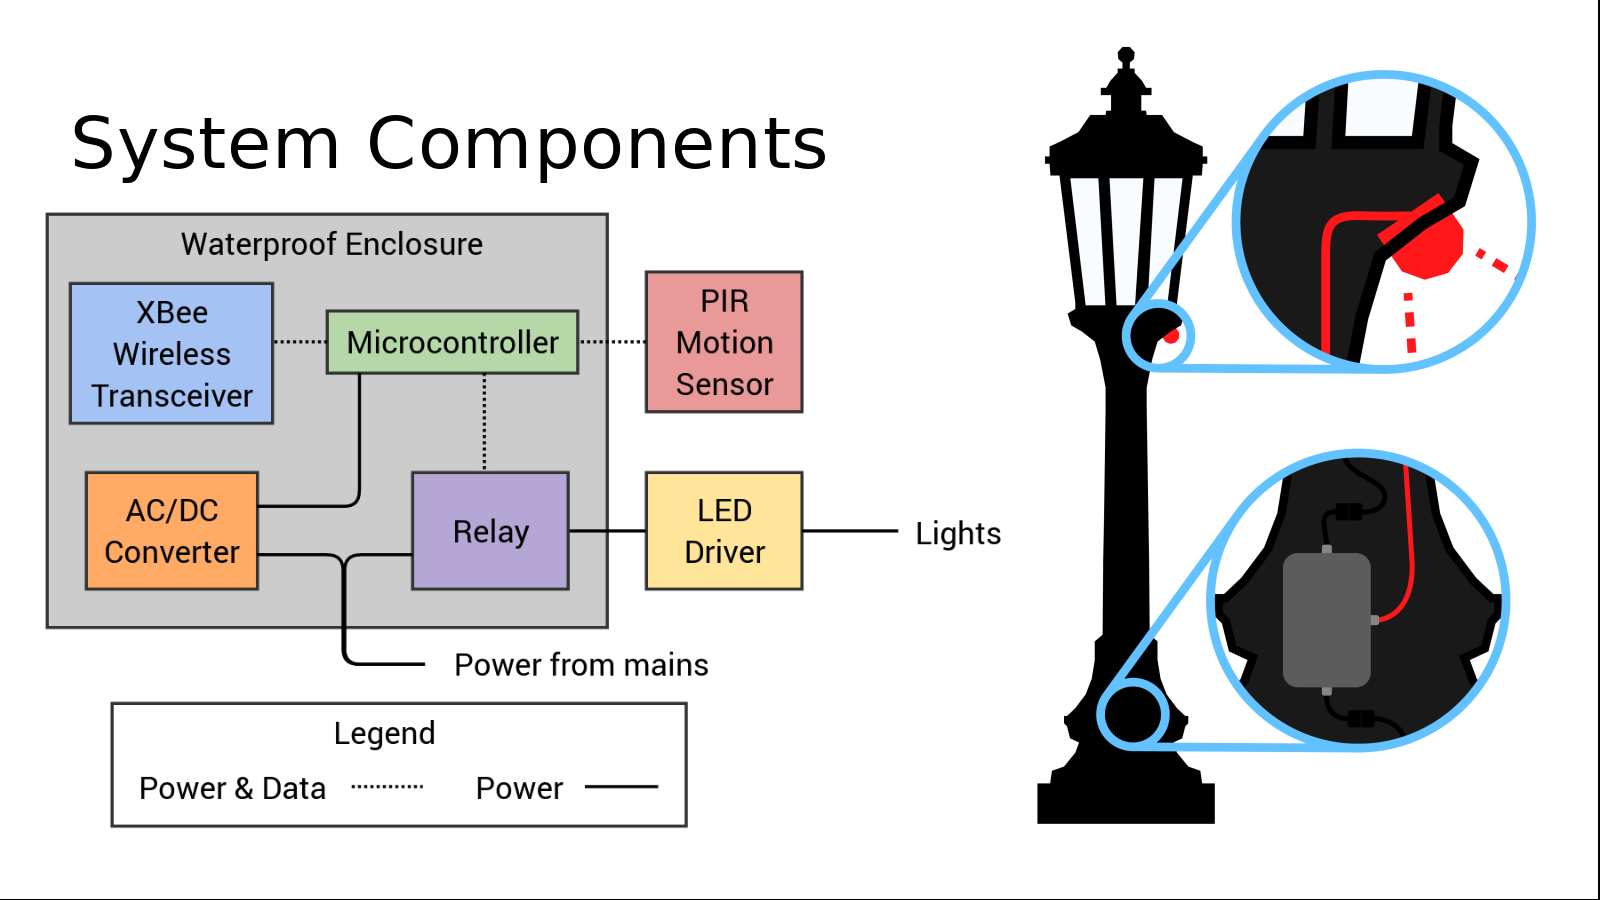
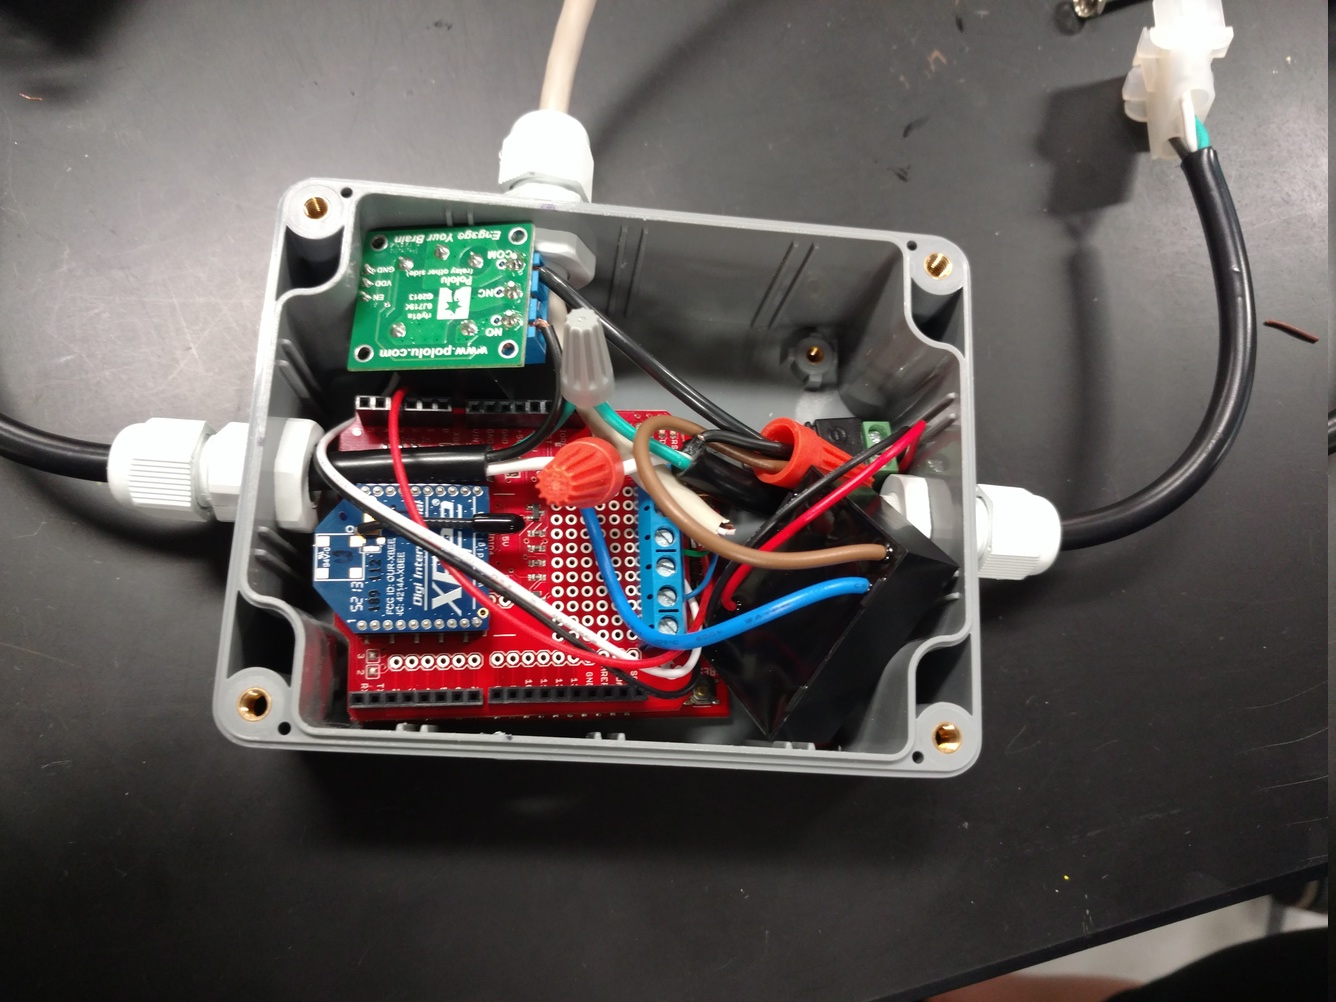
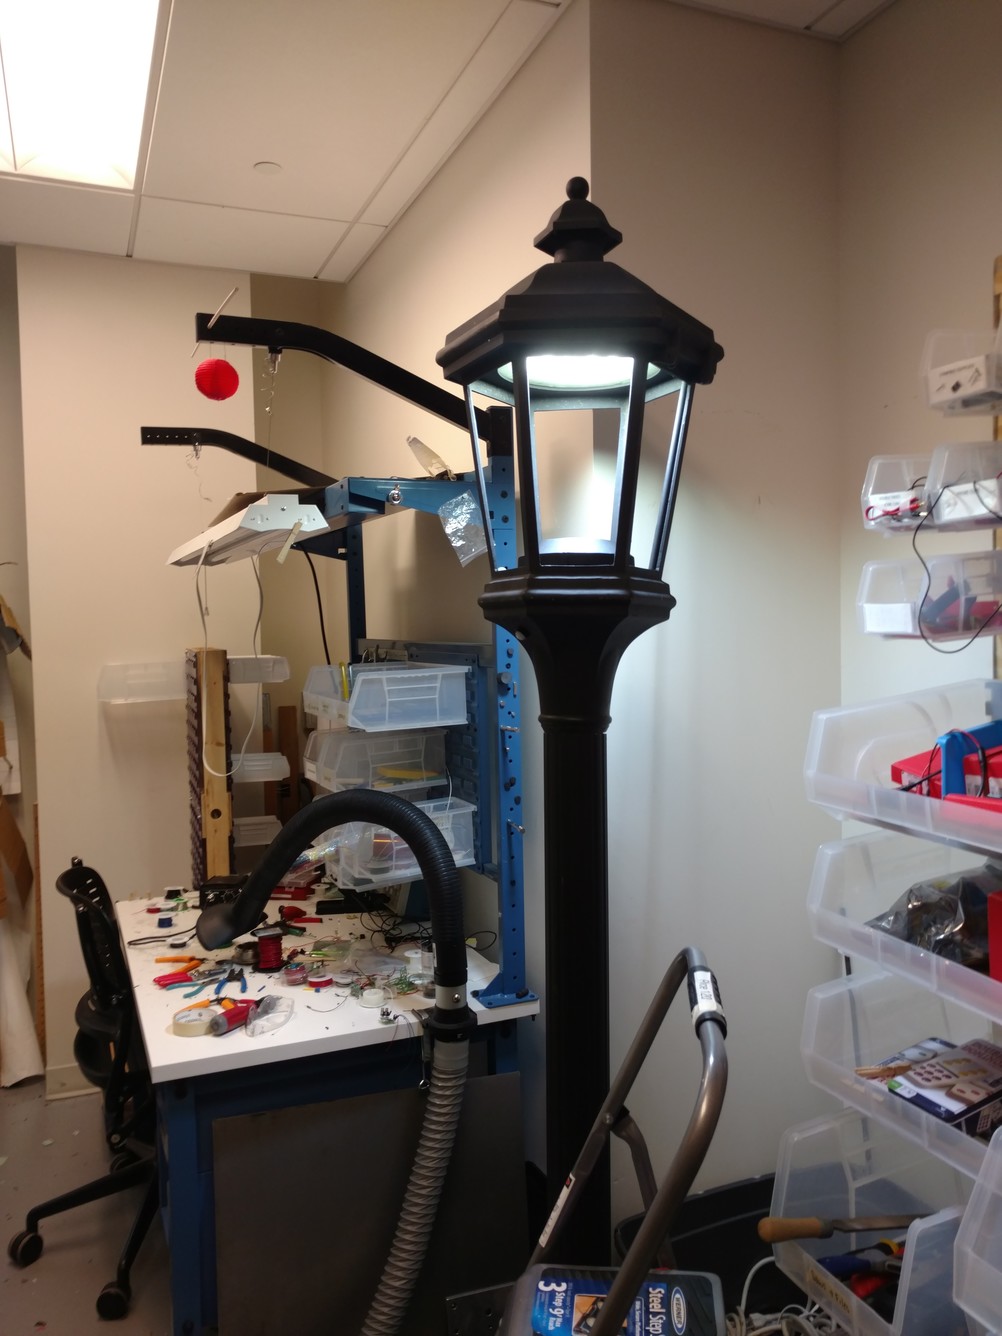
This capstone project was a smart park lighting system designed to enhance energy efficiency and safety in the City of Charlottesville. Unlike standard park lights that remain lit throughout the night, our automated lighting control system uses motion sensors to detect user presence, turning the lights on when needed and off when not in use. The prototype aims to achieve optimal safety while minimizing energy waste and installation costs. To avoid trenching expenses, the poles communicate wirelessly to coordinate neighboring lights. The system utilizes passive infrared (PIR) sensors and a microcontroller to control lighting activation and timeout periods. Configurable parameters, such as timeout duration and the number of neighboring poles to activate after motion detection, ensure adequate lighting for user safety. The project delivers a reproducible automated lighting prototype with wirelessly configurable parameters installed in a Charlottesville park.
Check out the IEEE Paper.
Interdisciplinary Group Project for Integrated Systems Design course
Highlights:
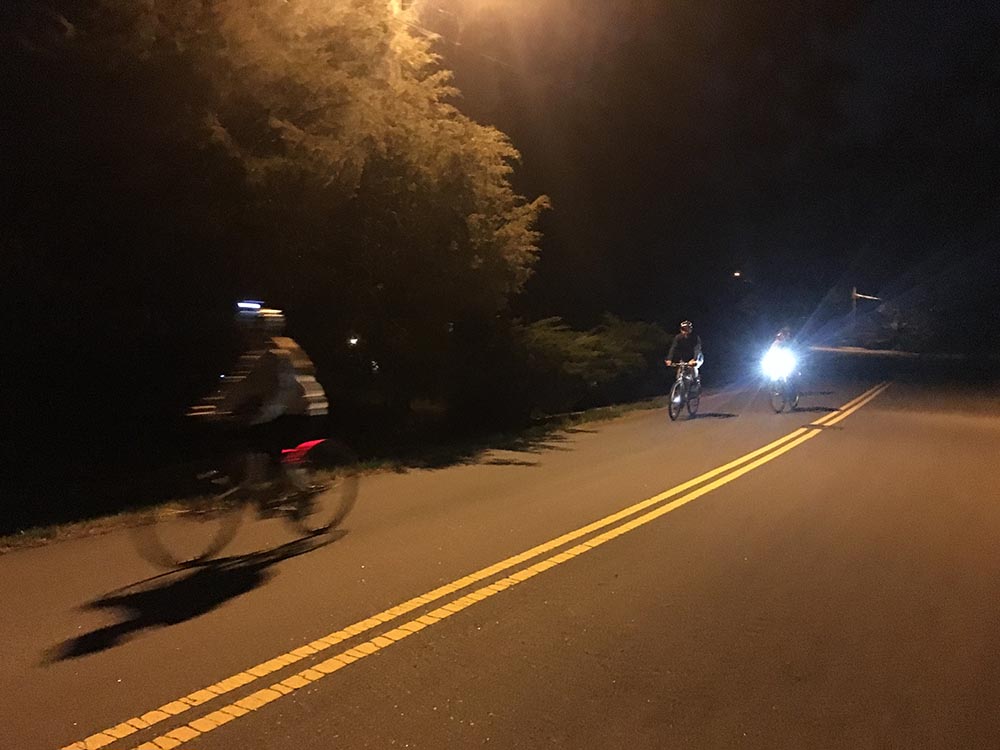
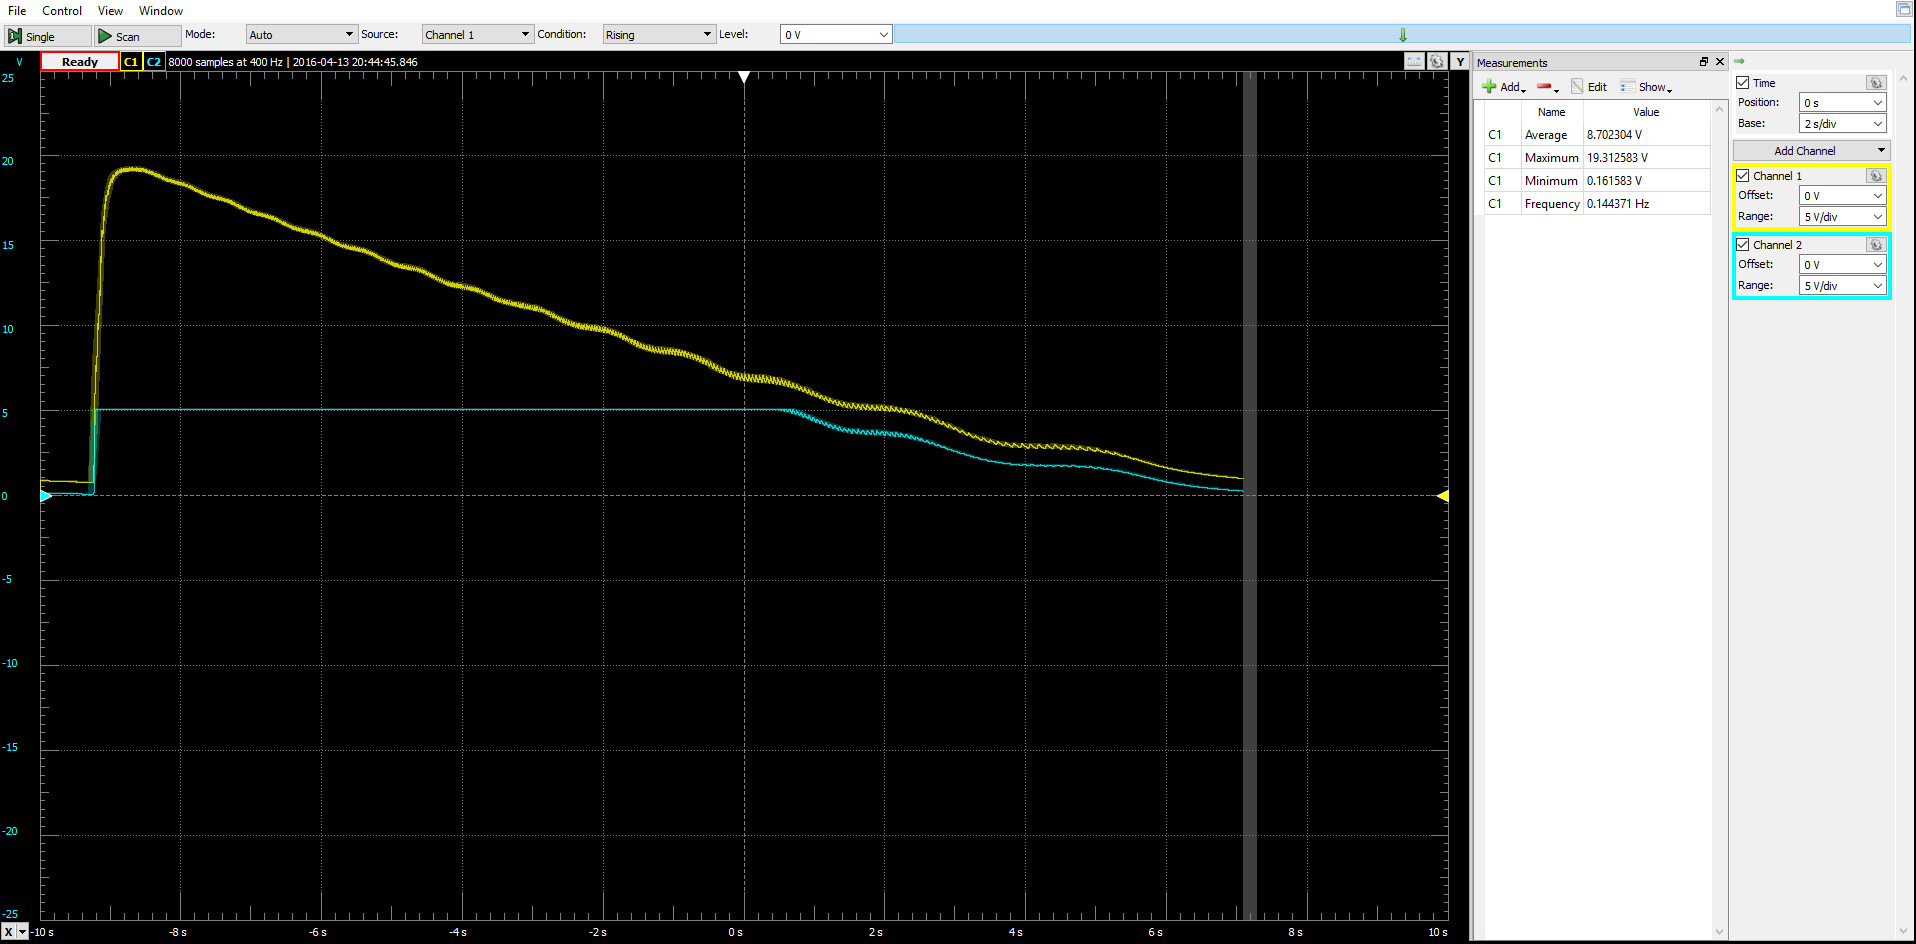
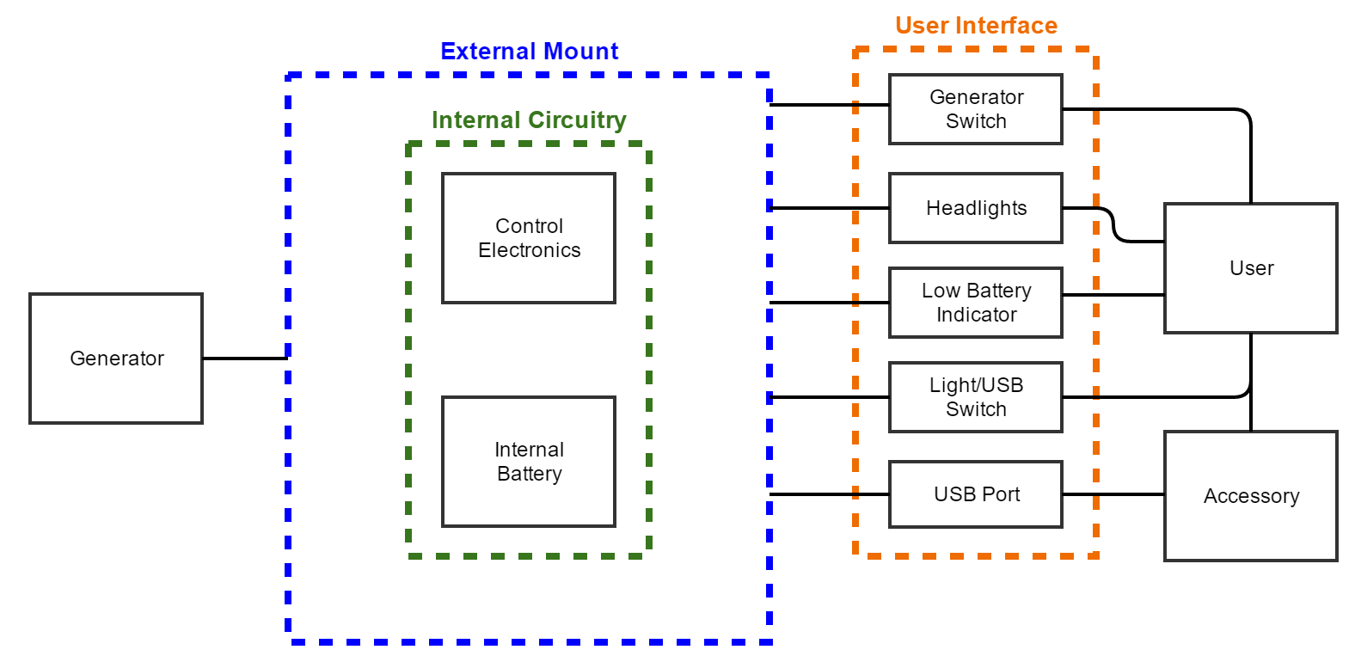
In my Integrated Systems Design course, our final project was intentionally open-ended, allowing us to explore user needs and design independently. The challenge was to create a system that could accept power from a bike’s generator hub, power a light when needed, and also support a USB accessory. Our team comprised 2 computer engineers, 2 mechanical engineers, and 1 systems engineer, requiring seamless integration across disciplines.
Throughout the project, I gained valuable insights into AC to DC power conversion, dealing with an inconsistent power supply, and integrating electrical and mechanical systems to meet design requirements. I focused on electrical design, testing generator hubs, and enhancing the system’s human-machine interface and user experience.
Check out the YouTube video of this project. It demonstrates the final version of the system's functionality.

Mechanical Engineering Group Project for Mechatronics course
Highlights:
As the final project in my Mechatronics course, my team of 3 MechEs built a semi-quadcopter system with 2 propellers, controlled using an accelerometer, gyroscope, and ultrasonic sensor. We employed a Kalman filter to handle accelerometer noise and gyroscope drift. Proportional Integral Derivative (PID) control adjusted the propeller speed by regulating motor power through an H-Bridge with pulse-width modulation (PWM). I took charge of the control code and designed most of the 3D printed parts for the structure, using C for the Propeller microcontroller.
Check out the GitHub page for this project or the YouTube video I made with a team discussing PID in the context of the semi-quadcopter.
Independent Photography/Mechatronics Project
Highlights:
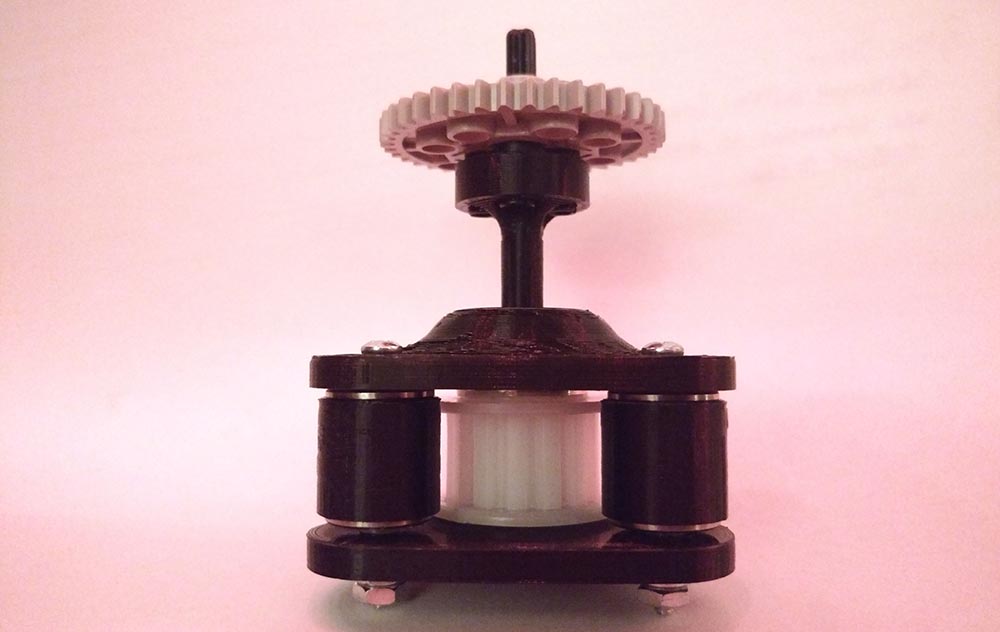
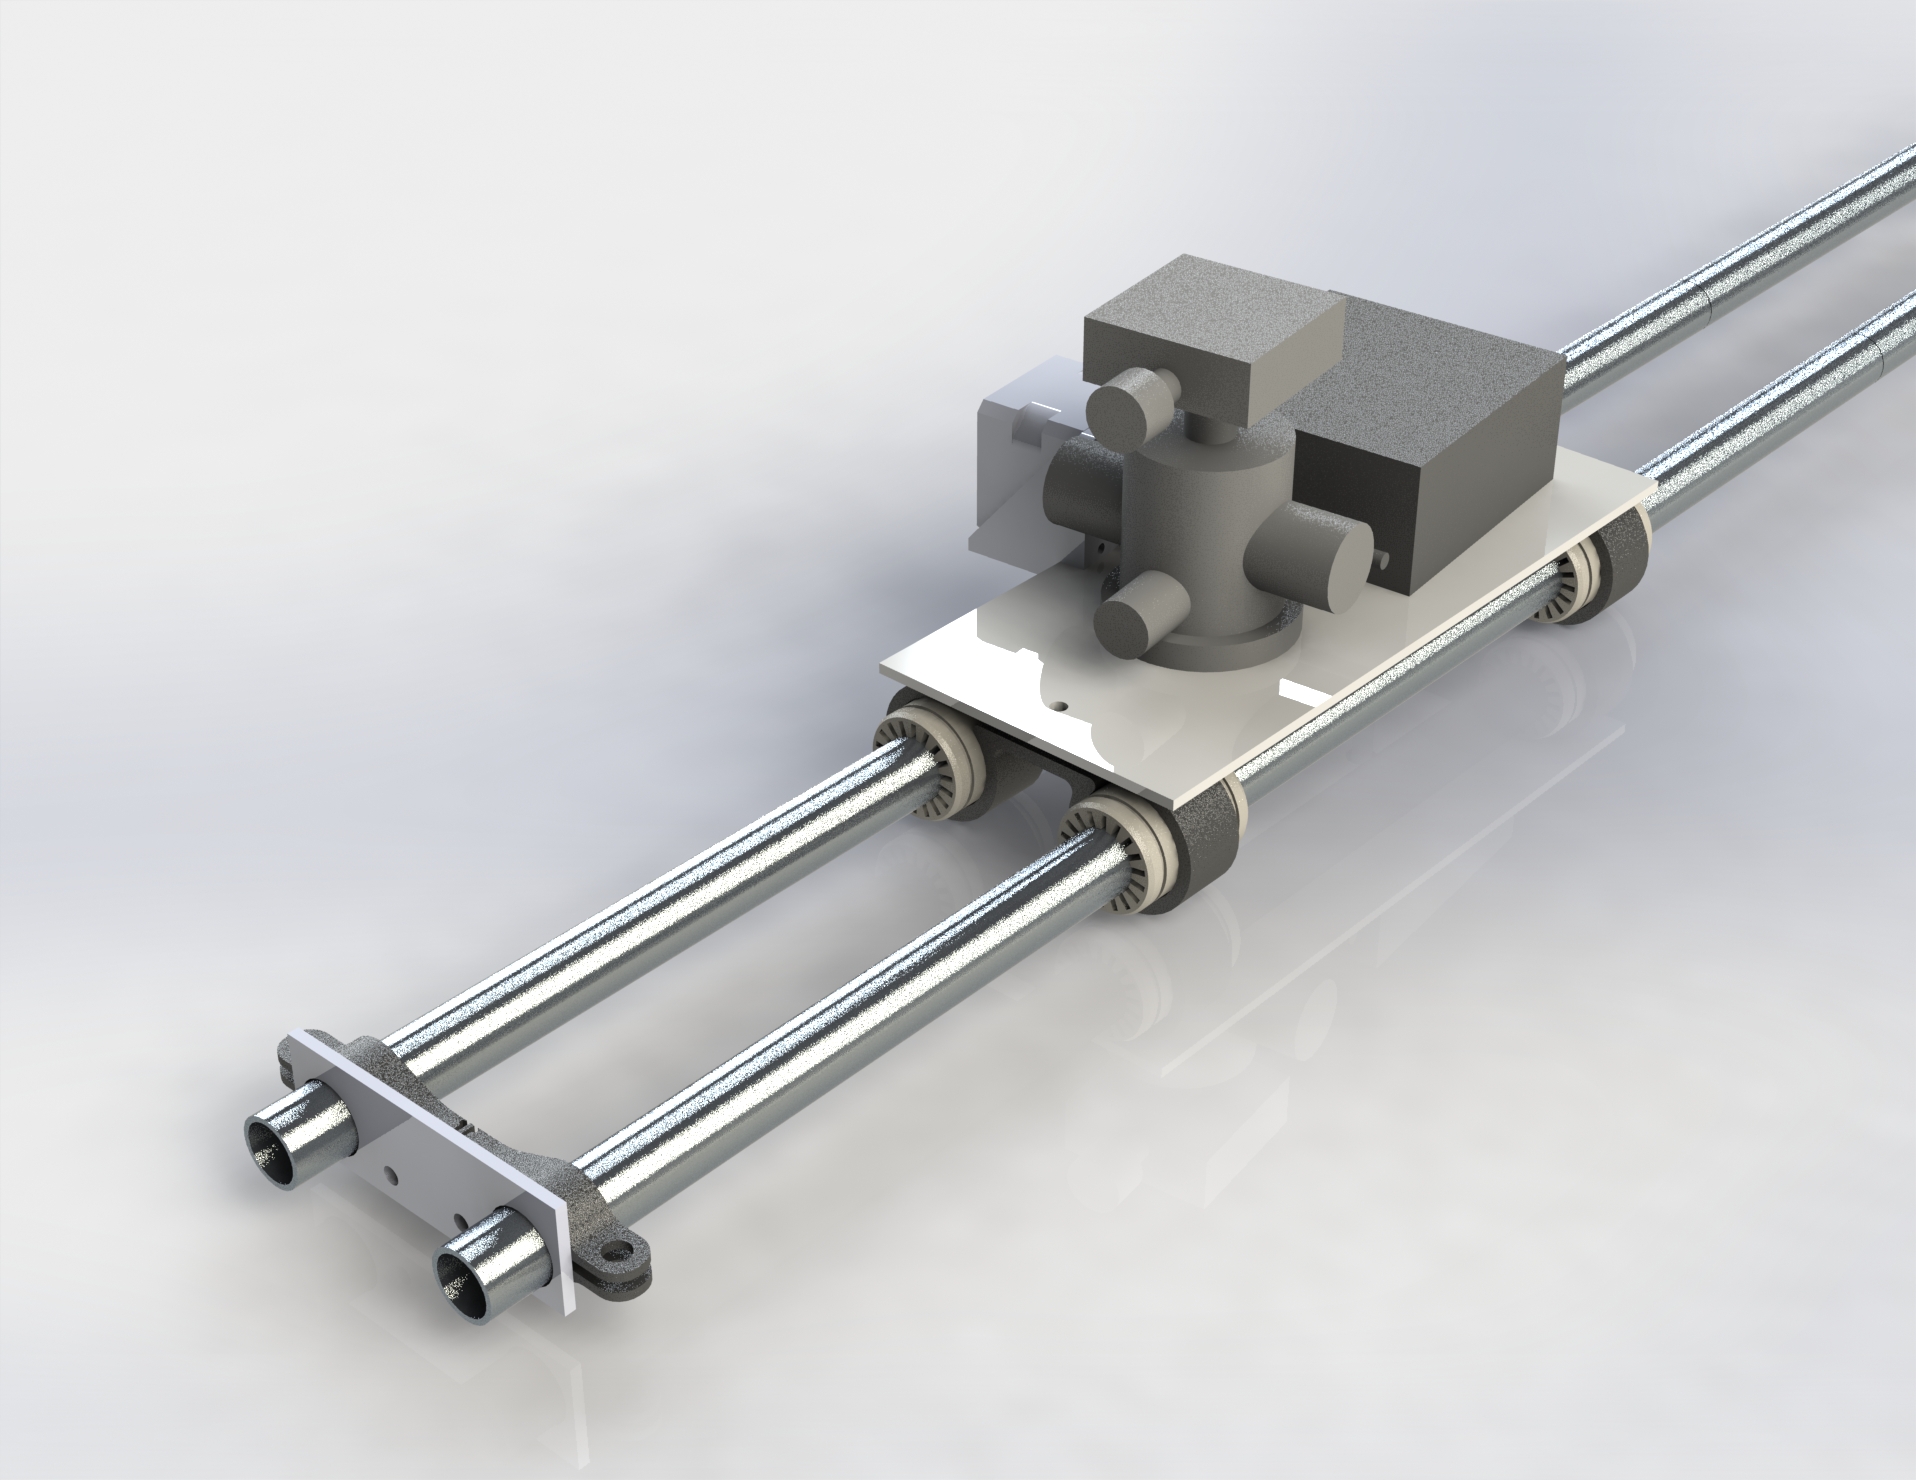
As a personal project for fun, I built an Arduino-controlled slider for time-lapses. The slider, mounted between two tripods, uses a DC motor to move the carriage while the camera takes interval pictures. I designed and 3D printed most parts with SolidWorks and an Afinia 3D printer, buying the rest online. Some aluminum parts were modified using a horizontal band saw and lathe, and I soldered the electronic components. This project was inspired by an Instructables.com project and allowed me to combine my passions for photography and mechatronics.
Though I encountered challenges achieving smooth motion with 3D printed parts, this experience taught me valuable lessons in knowing when to purchase or create custom hardware.
Interdisciplinary Group Project for Intro to Electromechanical Systems course
Highlights:
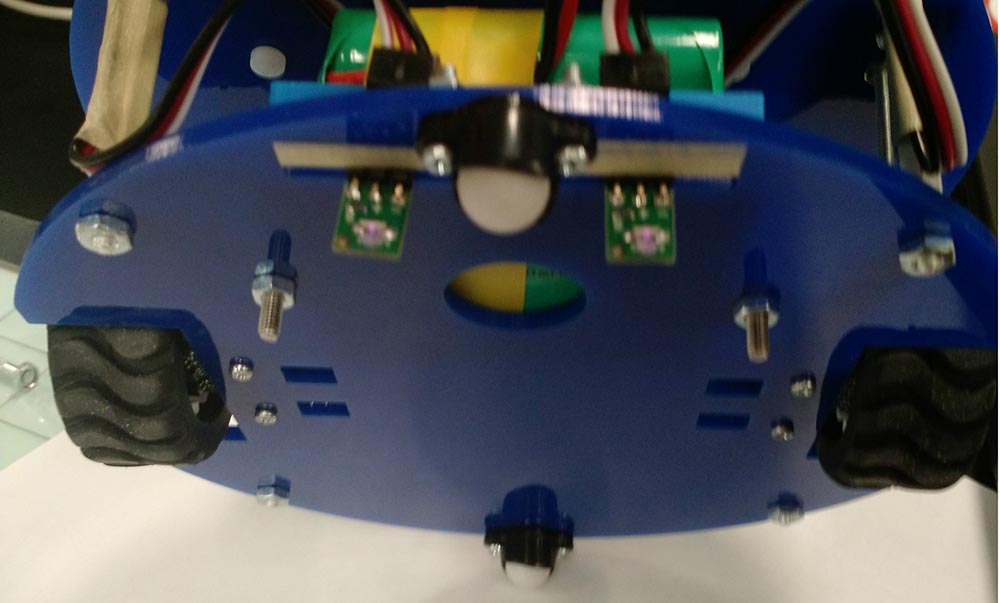
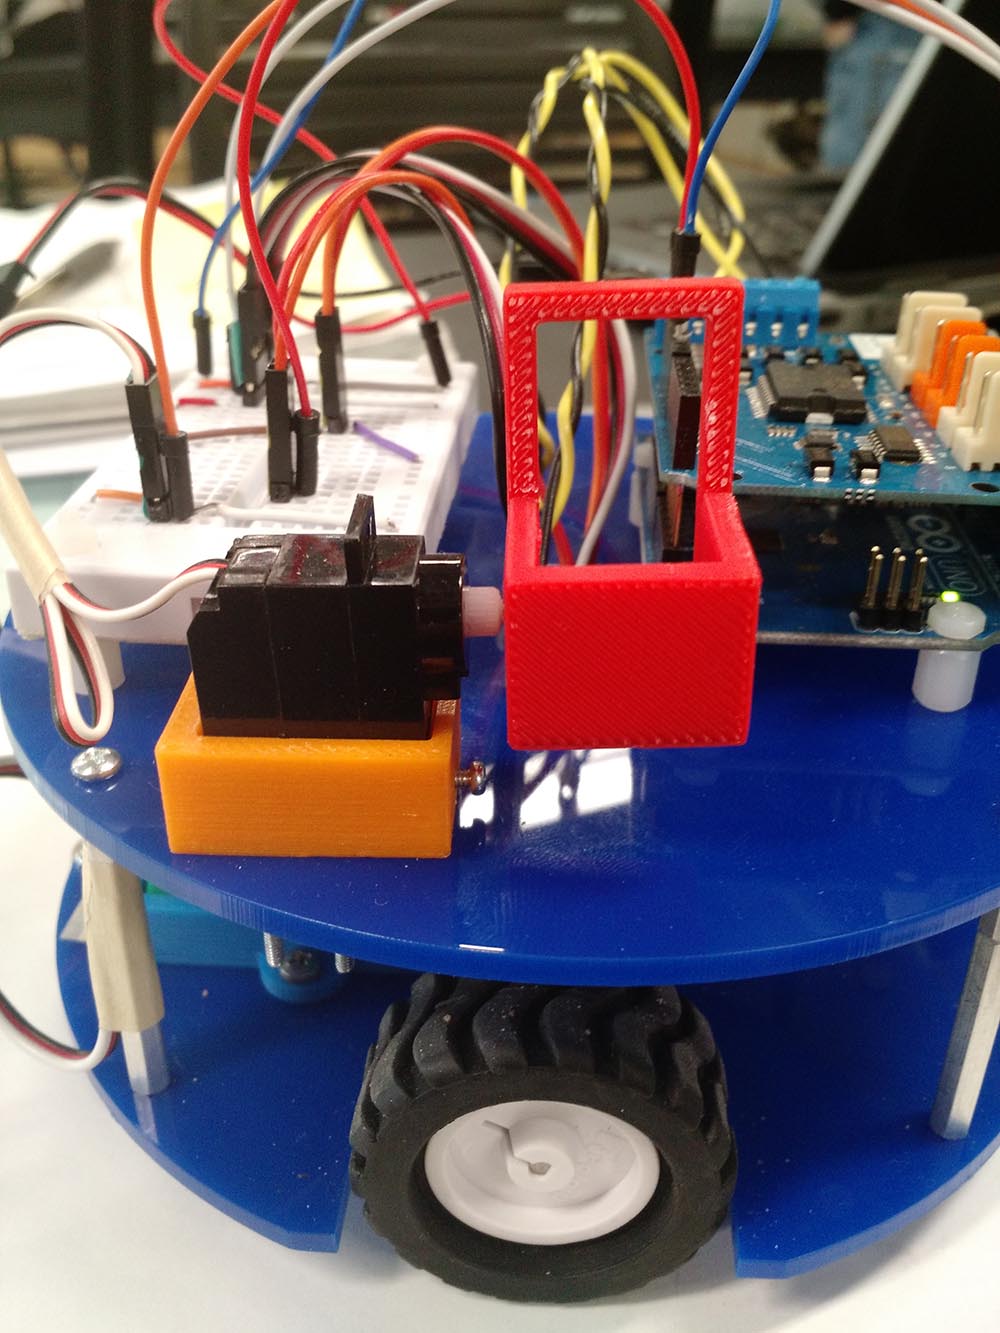
During my 2nd year at UVA, I completed this project with a SysE and EE major. I was responsible for building the robot and writing the C code to control the robot, which included implementing a state machine.
I designed the chassis and mounting for the servo delivery system in Autodesk Inventor. The servo delivery system was 3D printed on an Afinia 3D printer, and the chassis was laser cut acrylic. Additionally, I handled most of the electronics, ensuring the chassis accommodated the battery pack, Arduino microcontroller, breadboard, motors with encoders, and reflectance sensors.
Our team was the first to finish building the robot, and our professor used it as the basis for his software solution. In the subsequent semester, I collaborated with my professor to update the robot’s code, making it compatible with a WiFi shield, enabling wireless operation.
Check out the GitHub page for this project or the YouTube video.
Interdisciplinary Group Project for Intro to Electromechanical Systems course
Highlights:
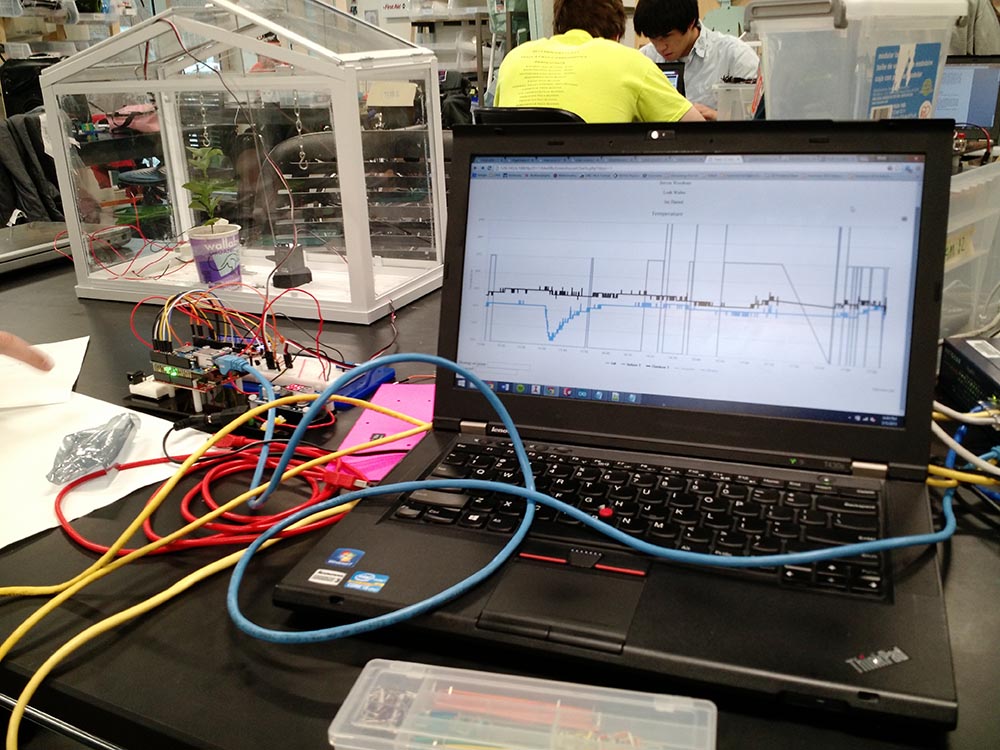
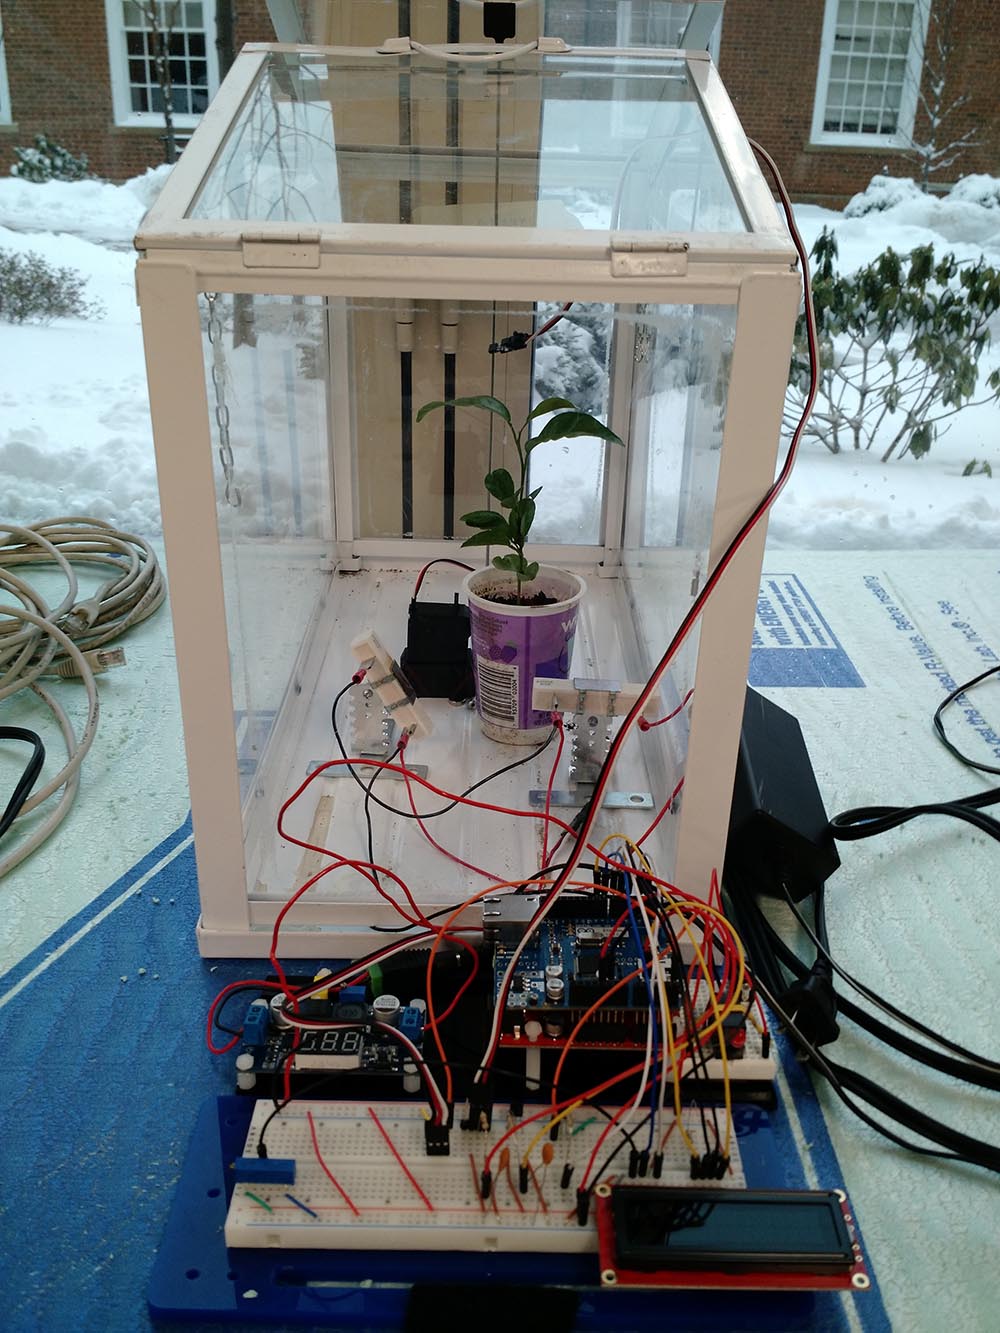
During my second-year spring semester, I played a key role in an Arduino-powered automated desktop greenhouse project. I designed and 3D printed a servo-motor controlled lid using Autodesk Inventor and an ABS-extrusion Afinia printer.
I also took charge of writing most of the C code for the Arduino microcontroller. This worked alongside PHP scripts and HTML documents for greenhouse communication with a database and website display. Additionally, I contributed to debugging the internet communication code.
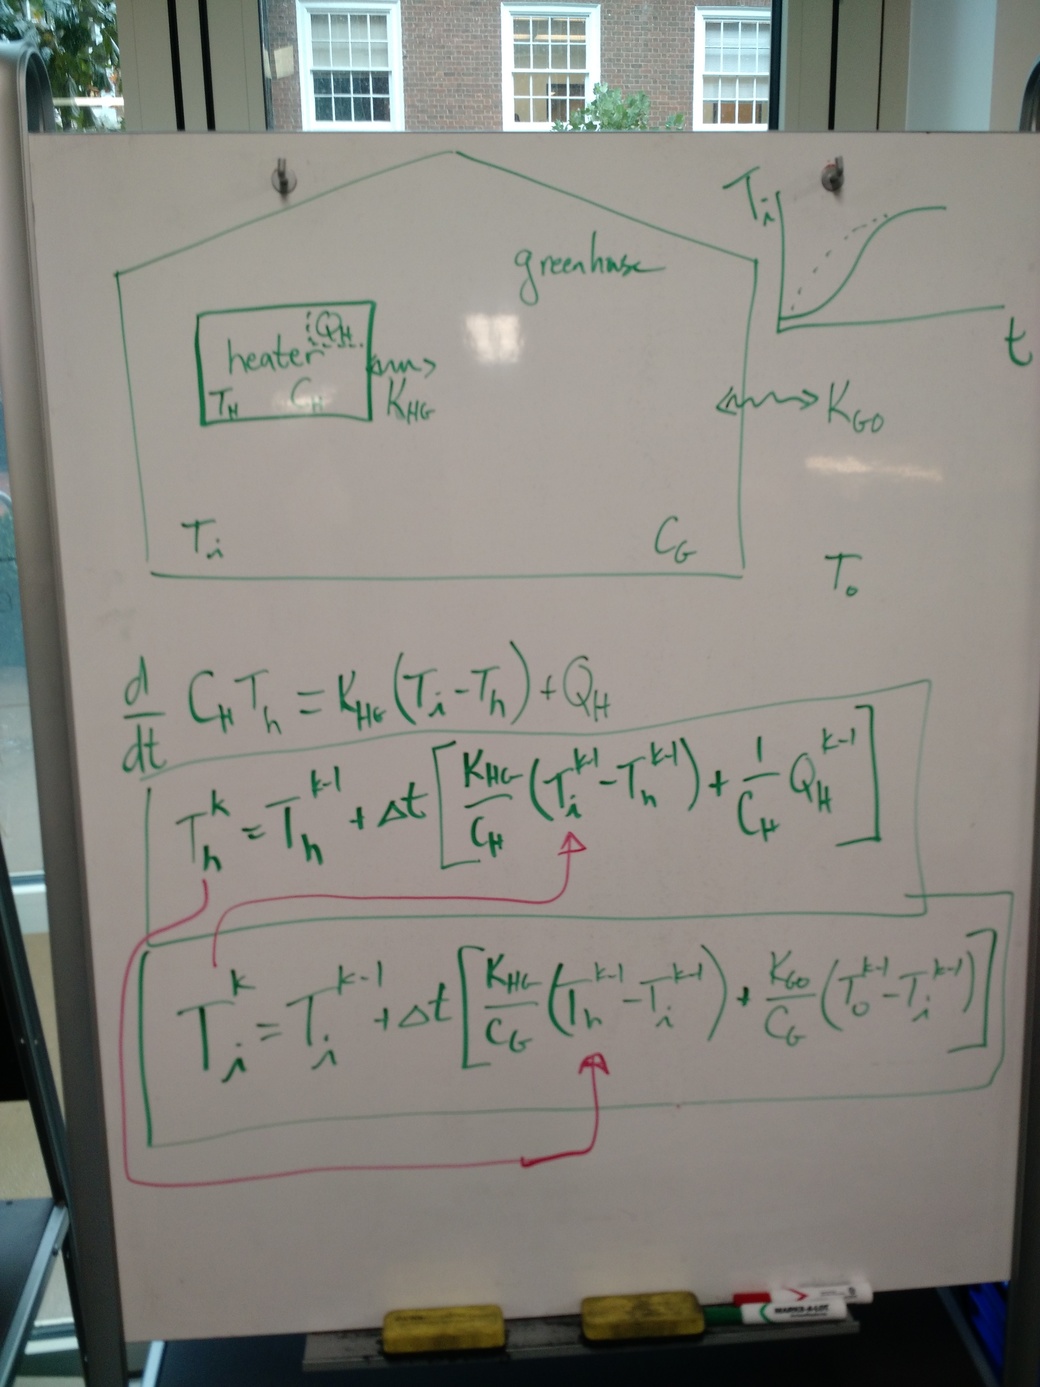
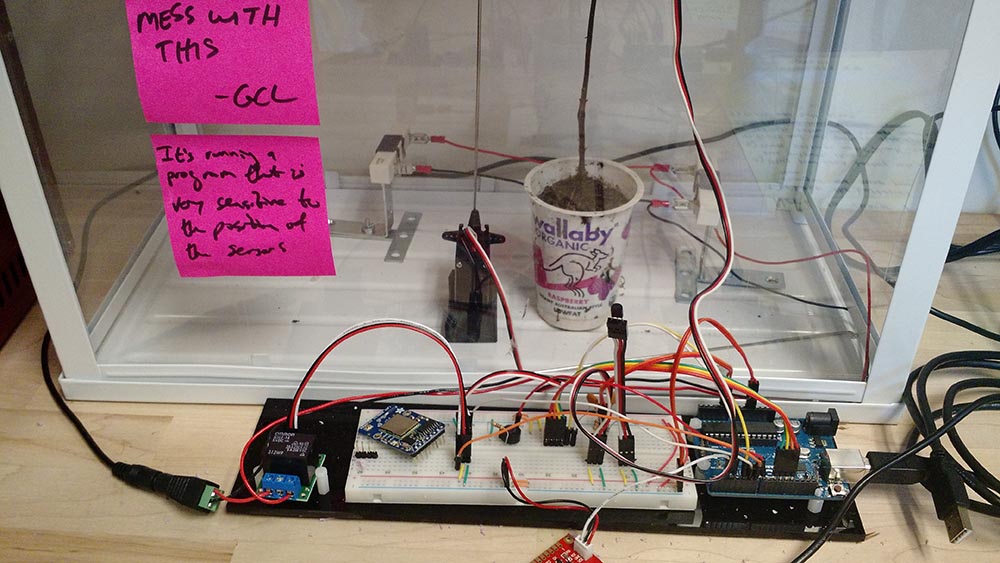
Based on my performance, the professor invited me back for the next semester to work on a cyber-physical security demonstration. We revamped the greenhouse and circuit, modifying the code to incorporate numerical simulation for temperature prediction and tamper detection. This project showcased our capabilities in cyber-physical security systems to the UVA Systems Engineering Advisory Panel.
Check out the GitHub page for this project.
© Jasbir Harnal 2023. Powered by w3.css